FO Friday: Secrets
I’ve been knitting my brains out for the past few weeks… but unfortunately I can’t show you any of it. Three commissioned designs, three patterns to submit to Knitty, more swatches than I can keep track of.
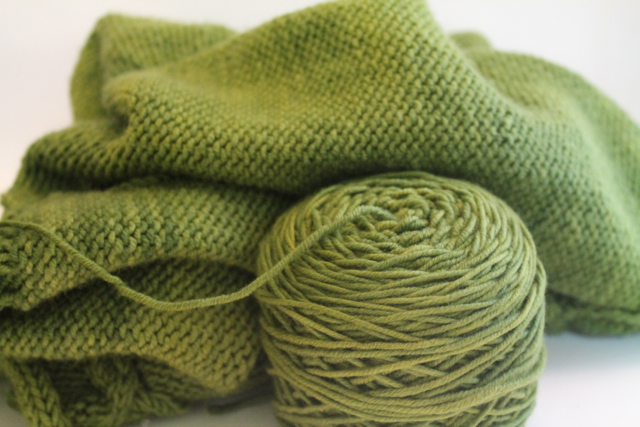
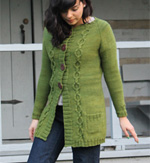
The green sweater (which I’m planning to self-publish) is finished, but it needs blocking and buttons. I have a strict don’t-show-before-it’s-blocked policy, so that one’s gonna have to wait too.
I’ve also been rediscovering my addiction to 90’s sci-fi TV shows. Am I the only one who thinks shows used to be much more fun 15-20 years ago?
Foldable/Collapsible Lightbox Tutorial
As promised, here are the instructions for the collapsible lightbox! Disclaimer: my wonderful husband put the thing together, I just took all the pictures.
Please note that this takes a while to put together. Give yourself at least three or four hours.
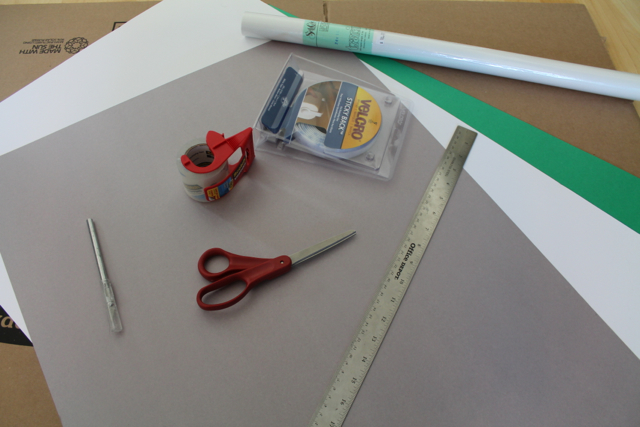
Step 1: Assemble the following materials:
-Large cardboard box (this one is 24x18x18)
-Roll of tracing paper
-Roll of double-sided Velcro tape
-Clear packing tape
-utility knife/box cutter
-Scissors
-Ruler
-Pencil
-A large white piece of stiff paper, at least as wide as your box
-(optional) Additional pieces of stiff paper in other colors, if you’d like to have a few different backdrops
We got everything from an artists’ supply store except the box, which we got from the local hardware store. Total cost for everything was about $30.
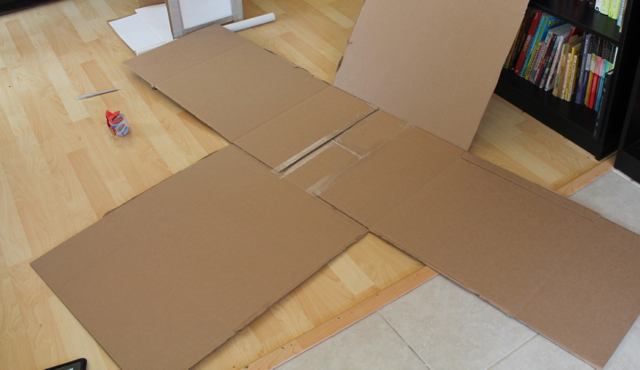
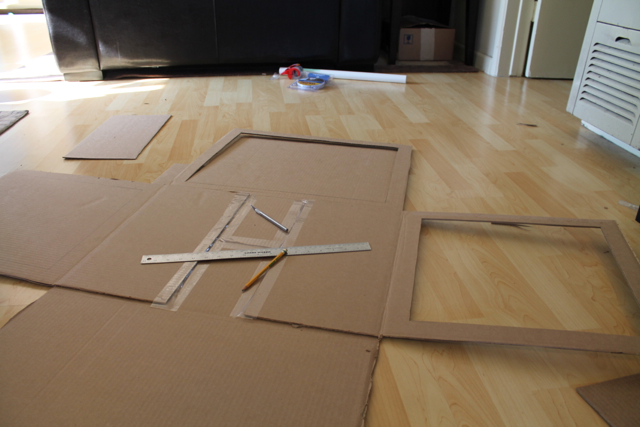
Step 2: If your box isn’t pre-assembled, tape down the bottom flaps. Using the utility knife, cut the box open along the sides.
Step 3: Measure one and a half to two inches from the edge on three of the panels and mark rectangles with the pencil and ruler. Using the utility knife again, cut out the panels (it’s a good idea to put something underneath so you don’t cut into the floor).
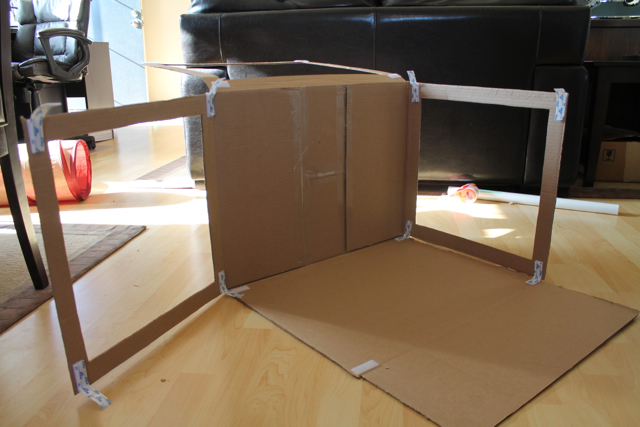
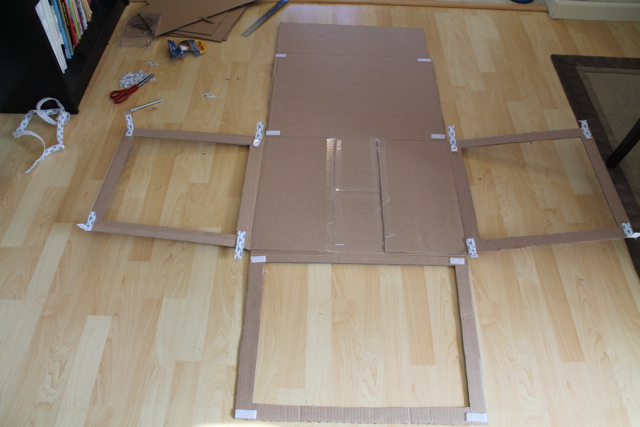
Step 4: Cut short strips of Velcro tape and affix to the corners of each panel so the sides are held together.
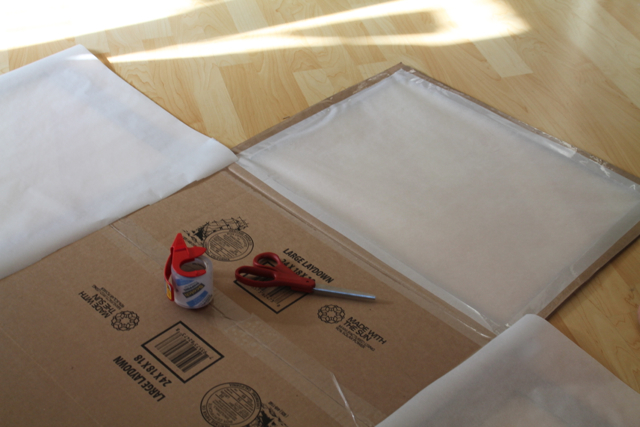
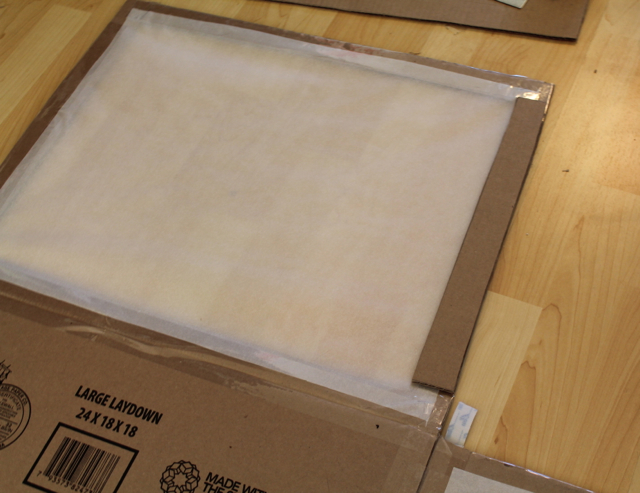
Step 5: Cut pieces of tracing paper to fit over the cutouts in the panels. Trim tracing paper to size and use packing tape to secure.
Step 6: At this point, we determined that the sides were a bit floppy because our box wasn’t the sturdiest one around. If you have this problem, you can do what we did: cut narrow support pieces out of waste cardboard and tape in place.
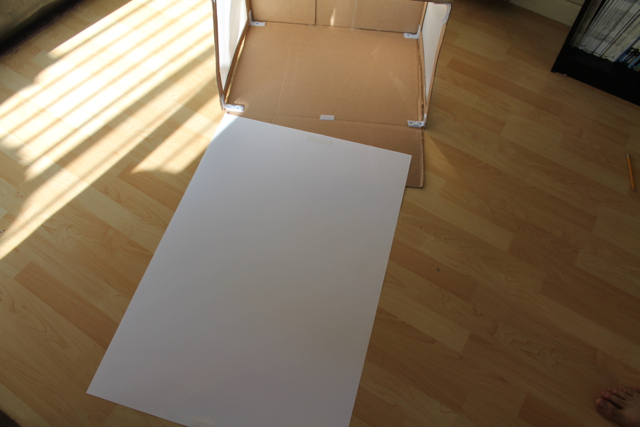
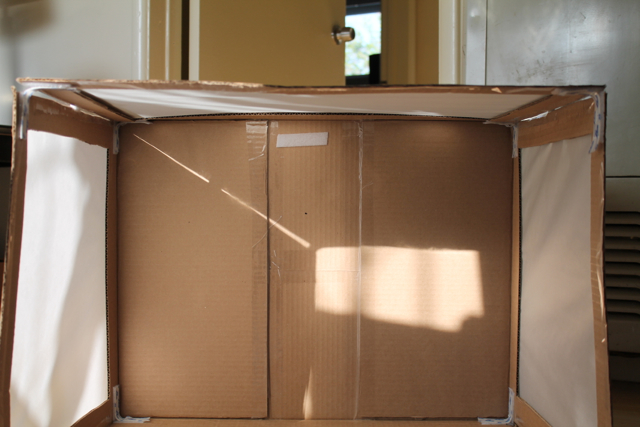
Step 7: Cut the heavy white piece of paper so it just fits the width of the box. Cut to desired length and affix pieces of Velcro tape to the paper and to the inside of the box to hold the backdrop in place. Repeat with any other backdrops, making sure they fit properly inside the box.
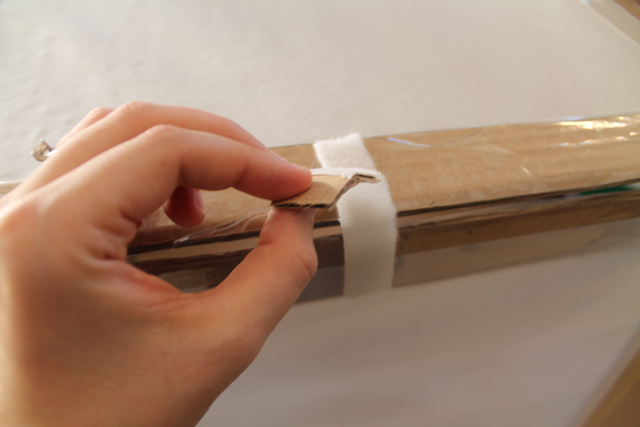
Step 8: (optional) If you find it difficult to pull the Velcro tabs apart quickly (we did), cut small bits of cardboard to use as pull tabs and tape in place. You can also put small pieces of tracing paper over the back of the Velcro strips, although this is mostly just for aesthetic value.
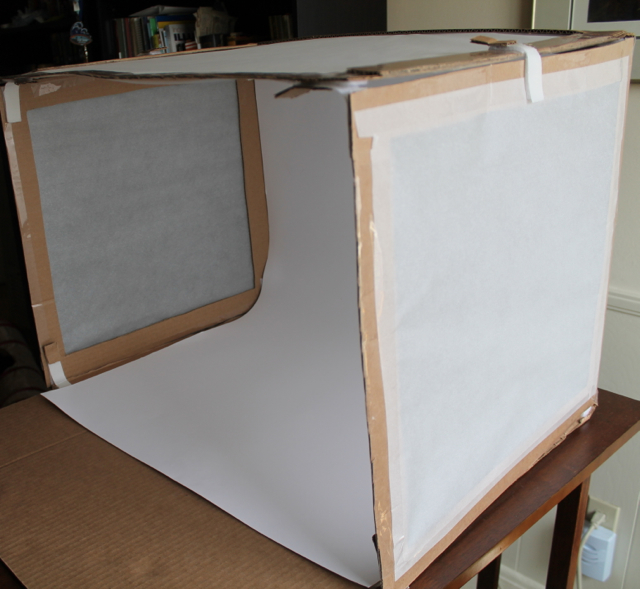
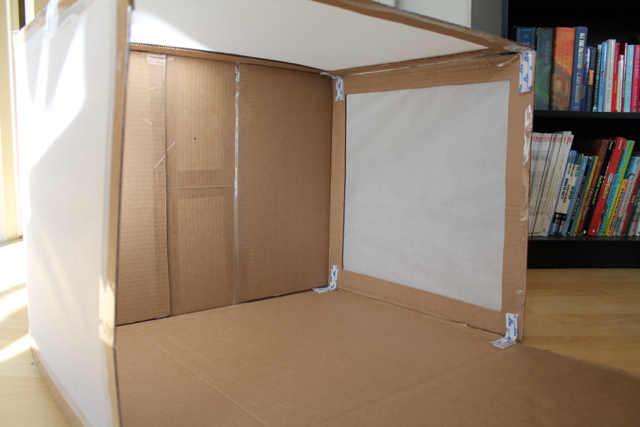
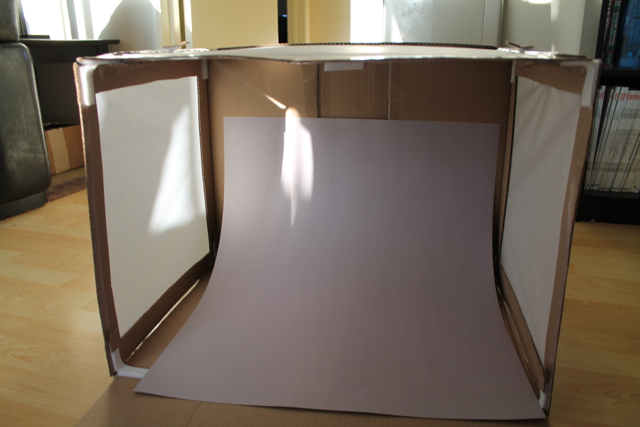
The lightbox is now completed!
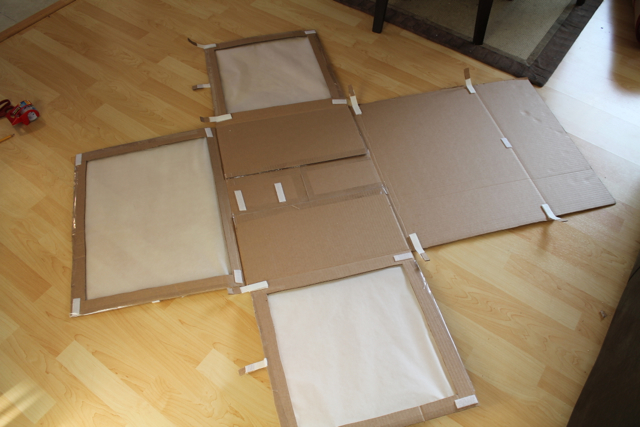
We determined the best way to fold it up was to fold the side panels in, then fold the bottom up over it, leaving the top flat. It still takes up some room, but it’s easy to stick the flat box in the back of a closet.
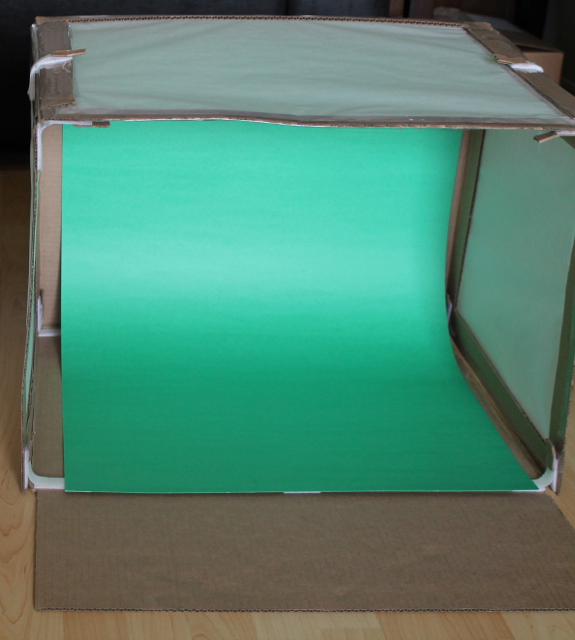
Lights can be set up so they shine through the tracing paper and give nice, even lighting to your subject. Here are a few shots of the box in action:
If you make a box using this tutorial, I’d love to hear how it goes!
FO Friday: Collapsible Lightbox
No knitting FOs to show off today (the green sweater’s coming along, but it still needs another sleeve). I have something else that’s almost as good, though–the husband made me a collapsible lightbox!
I had been using one that he made a while back which worked (all the yarn photos I’ve posted here were taken in it), but suffered from one fatal flaw: it was really too small for my purposes.
I ended up with a lot of shots like this that needed to be cropped down (swatch is of my Kari Baby Blanket):
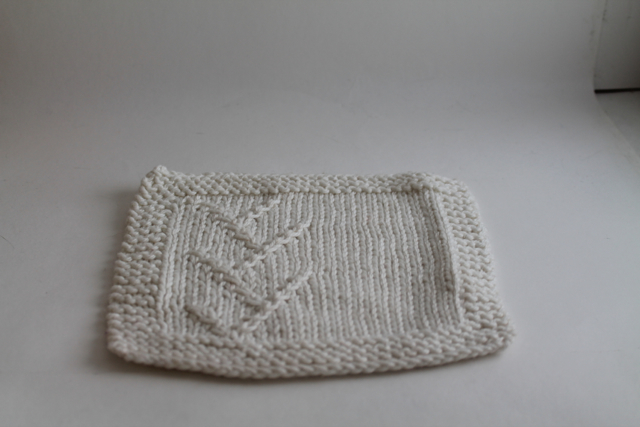
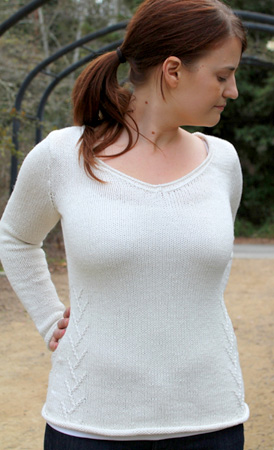
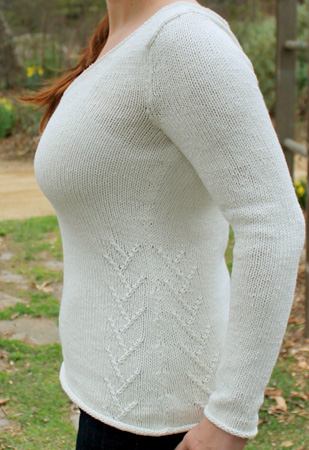
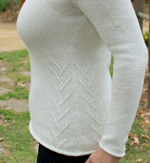
Also, shots of white yarn tended to get washed out pretty severely (swatch of my Bevin Pullover):
We had trouble storing the box in our little apartment, too. We ended up having to devote a whole shelf to it in our linen closet. So when hubby offered to make me a bigger, collapsible lightbox, I jumped at the chance.
Not only does the new one use a clever placement of Velcro tabs to fold down so it can be stored at the back of a closet, but it has removable, different-colored backdrops!
Now I can get shots of white yarn that look like this:
Much better, no? And I have SO much more room to take shots. It’s awesome.
Here’s a side-by-side comparison of the old and the new lightboxes:
I took lots of pictures as hubby was making the box, so I’ll be posting a photo tutorial here in the next few days for anyone who’s interested in making their own. Stay tuned!
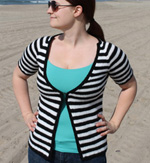
New Pattern: Hipster Stripe!
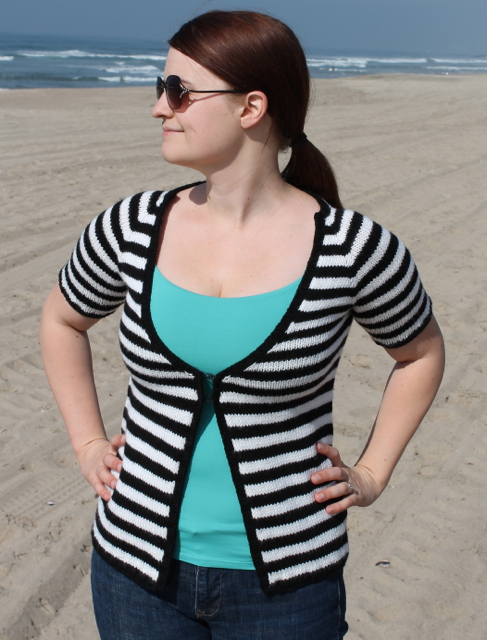
Here’s the “official” announcement of my newest sweater pattern, Hipster Stripe!
The pattern went live on Knit Picks’ website a few days ago, and now it’s up on this website and on Ravelry.
All the specs can be found here: Hipster Stripe Cardigan.
Really excited about this one!
New Pattern: Bevin Pullover!
My first Knit Picks Independent Designer Program pattern went live this morning!
Bevin Pullover can be purchased through Knit Picks’ website here. Tons more info (and the link to purchase via my site/Ravelry) on the pattern page here.
And my other Knit Picks IDP sweater, Hipster Stripe, went live today too (a total surprise to me–I thought it was going to take a while!). You can see it here on their website. Look for the official release post here soon :-)
WIP Wednesday
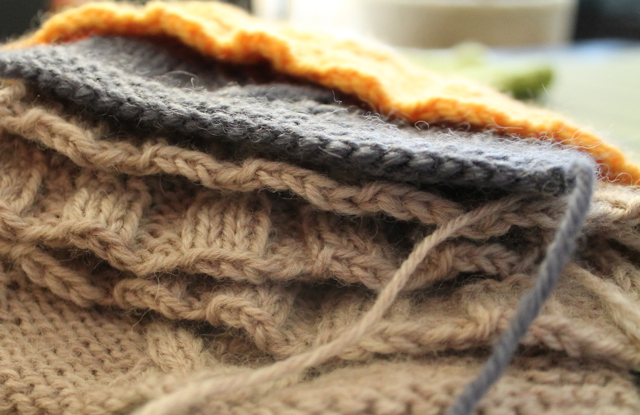
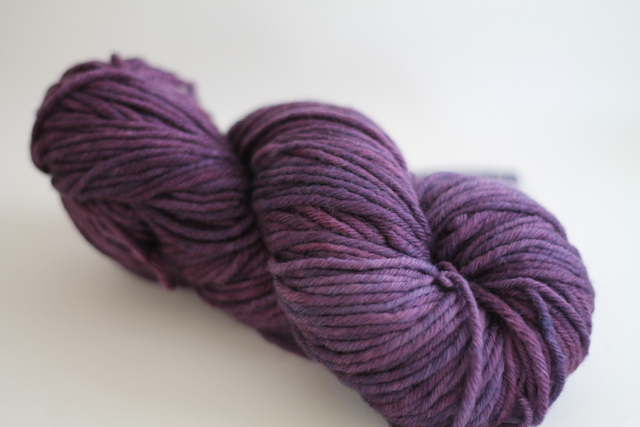
I’m working on a new sweater design! Top-down raglan with fun cable details:
The yarn is Araucania Toconao (totally had to look up that spelling, yeesh), which I purchased at Little Knits for an astonishing 78% off. I couldn’t NOT buy it. And guess what? They still have some: http://www.littleknits.com/products.php?cat=1123. You’re welcome. :-)
The yarn reminds me most of Madelinetosh Vintage (my fave). It’s light and very elastic, so cables show up fantastically well. I’m really having a blast knitting this sweater. More to come about it later!
Star Wars Baby Shower
Warning: picture-heavy post ahead! (It has a little to do with knitting, I promise. Hang in there.)
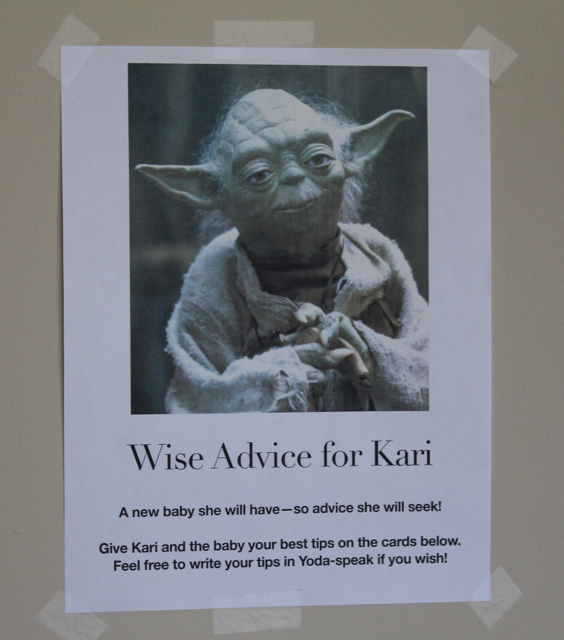
I threw a baby shower for my best friend yesterday. She’s a Star Wars mega-fan from way back, so we came up with the idea of having a Star Wars theme! I couldn’t resist the opportunity to put my new camera of awesomeness to good use.
I made Yoda Soda by mixing lemon-lime soda with lime sherbet:
The favors were lightsabers (pretzel rods dipped in melted candy coating and sprinkles):
The gorgeous mama-to-be:
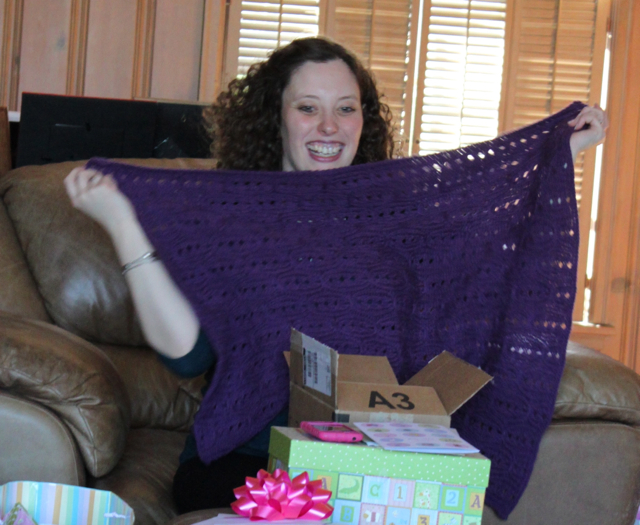
We played games, decorated onesies, and watched her open presents:
Recognize this? It went over really well with everyone! All of the non-knitters were impressed that both sides looked good, which I thought was pretty awesome :-)
The shower took a lot of planning, but everyone seemed to have a great time. The mama-to-be was very happy. So it was all worth it :-)
More SEX… I’m trying to quit, I swear!
Another Stash Enrichment eXpedition! I was up in Monterey for a writer’s workshop this weekend and had some time to kill before it started… so I stopped into one of my favorite yarn shops, A Twisted Stitch. I wasn’t going to buy anything… but somehow these migrated into my hand:
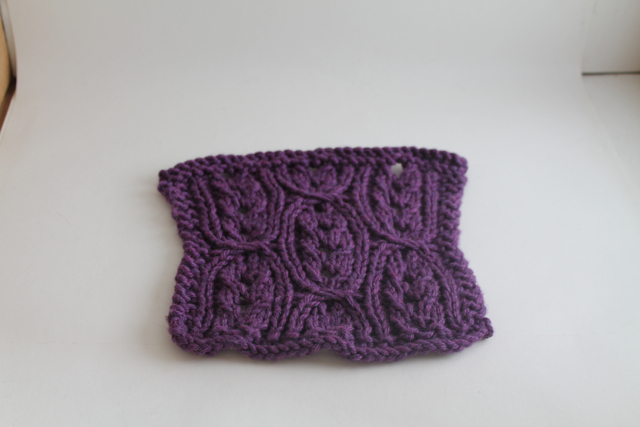
That’s Alice Starmore’s phenomenal Aran Knitting (new and expanded edition) and two skeins of Arroyo, Malabrigo’s new sport-weight yarn, in Plomo.
I’m loving the book–the first section is a comprehensive history of the Aran islands and the sweaters that made them famous. I had many misconceptions about this style of knitting, but Ms. Starmore has set me straight! The next section is cable motifs, many of which are new to me. I got three design ideas just flipping through the book in the store, so I figured I’d better buy it, heh. The last section is gorgeous patterns, which I can admire even if I’ll never knit any of them.
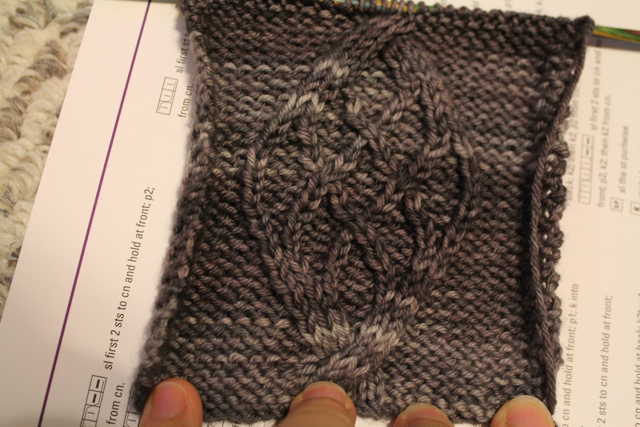
At the earliest opportunity, I tried out one of the cable motifs in the Arroyo–isn’t it beautiful?
I’m thinking opera-length gloves, if I can manage to squeak a pair out of two skeins….


