Kinnearing at Disneyland
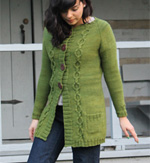
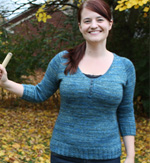
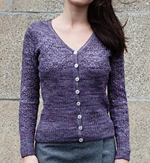
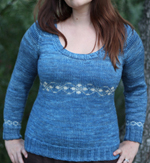
I went to Disneyland yesterday, which was awesome. All the holiday lights were on and the Haunted Mansion was all Nightmare-Before-Christmas’ed up. It was actually cold at night (about 55F–it’s cold for here, okay?), which meant all the woolies were out in force! I saw unbelievable amounts of sweaters, scarves, hats, gloves, mittens, and even ponchos and a few knit dresses.
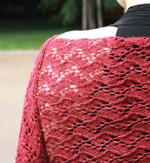
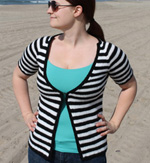
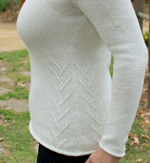
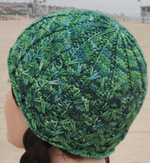
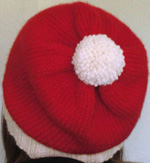
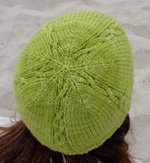
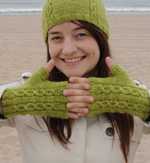
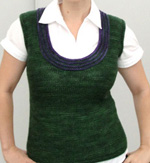
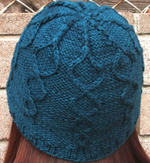
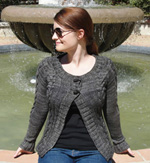
After a few hours, I realized this was a superb opportunity to practice my Kinnearing (see the Yarn Harlot’s absolutely brilliant post on the subject here if you’re not familiar with the term). Basically, I spent a few hours taking secret phone pictures of people wearing neat knitted things without them knowing about it.
I’m really not very good at it. Most of my pics were blurry:
Or missed the knitwear almost entirely:
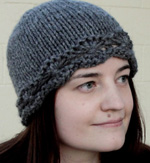
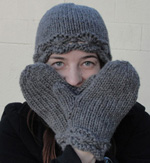
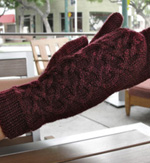
But I managed to get a few fairly good ones.
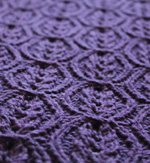
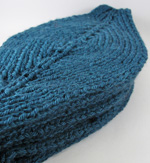
They had some awesome stuff for sale at Disneyland, too:
All in all, it was a great day, despite the weird looks from my husband and the others in our party (I did explain, including defining Kinnearing to them, but they didn’t seem to quite get it anyway). And I have lots of new design ideas floating around in my head!
FO Friday: A boatload of Christmas Stockings
Never let it be said that I don’t jump into things with both feet. For my first Finished Object Friday, I present not one, not two, but ten knitted stockings!
Now, before you get too impressed, I’ve been working on them since February. I promised my mother-in-law I’d knit everyone in the family a stocking with their name on it after seeing the pitiful state of their stocking collection over Christmas 2010. I don’t want to disparage another knitter… but let’s just say the lady who made several of them in the early ’80s (out of eye-searing green and red acrylic) should probably have kept her colorwork floats loose enough to actually be able to get things in and out of the stockings. I’m just saying.
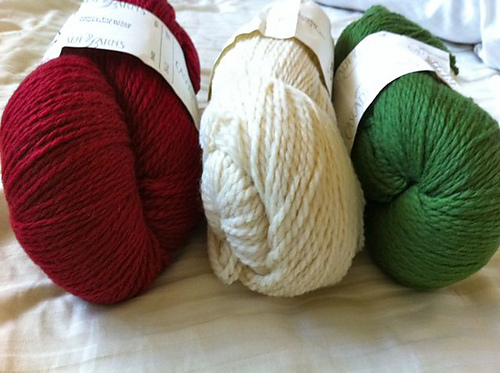
So at the beginning of this year, I ordered a bunch of heavy-worsted weight yarn, settled on a pattern, sketched out the colors and design, and went to work.
The first two went quickly. I actually thought they were pretty fun at that point. But as I kept going (interspersing them with other projects so I didn’t go insane), I started to get more and more sick of the pattern, the yarn, the need to pay attention to the colorwork, weaving in dozens of ends at the end of each one… I definitely had to grit my teeth and just power through the last few.
I am so beyond delighted to have these done.
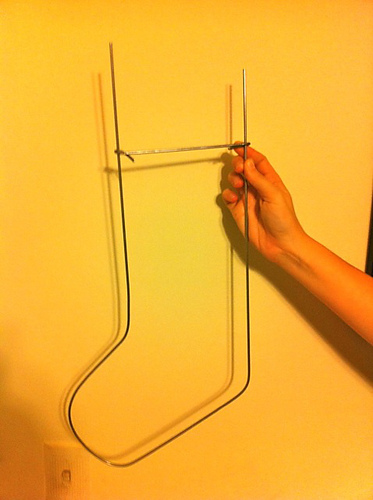
After hearing me moan about having trouble blocking them all to the same size, my darling husband got some heavy wire from the hardware store and made me a blocking form!
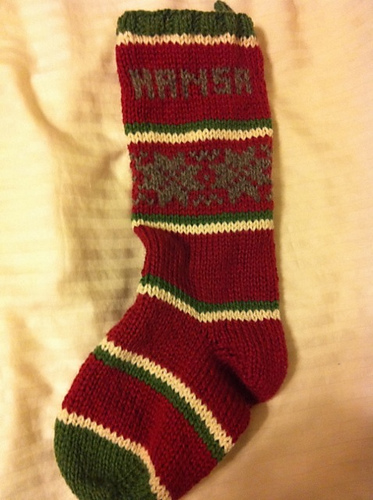
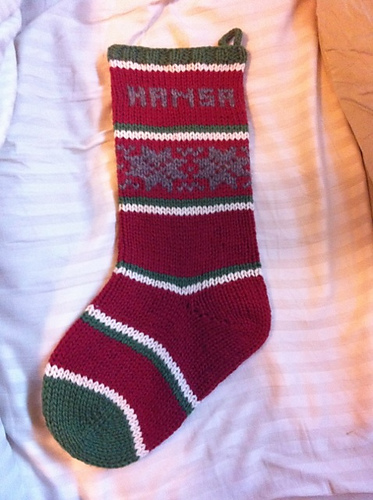
The before and after pics show why this was desperately needed:
Here are the specs:
Pattern: loosely based on Ysolda Teague’s Last Minute Stockings (Ravelry link), with lots and lots of mods
Yarn: Cascade Ecological Wool and Eco+ for the red, green, and white. The different contrasting color for each family varied. Full details available on my Rav project entry here.
Needles: Size 9 (these were even a little big for this yarn; it’s supposed to be chunky, but I don’t believe that for a minute).
Notes: I actually would much rather have followed the pattern to the letter (so cute and rustic!), but I was attempting to at least kinda-sorta approximate the wretched ’80s stockings, so I had to follow specific guidelines. I did the names stranded rather than duplicate stitch… the floats are slightly visible through the fabric at the back, but it isn’t bad.
I did learn a new technique, the figure 8 cast-on. Even after 10 times, I still think it’s awesome.
My mom saw a few of these last time she came out to visit and gave me the big puppy-dog eyes… but I told her she’ll have to wait a year. At least. And when I knit them for her family, I get to pick the patterns.
New free pattern: Gifty Hat and Cowl
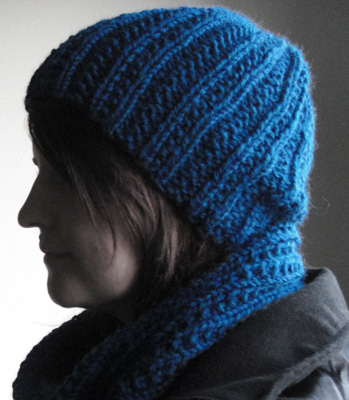
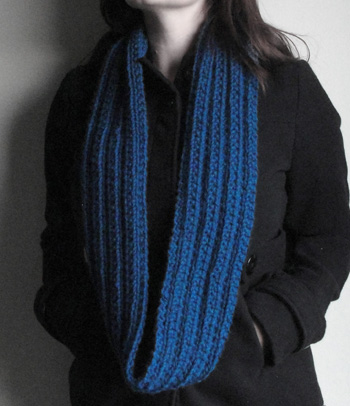
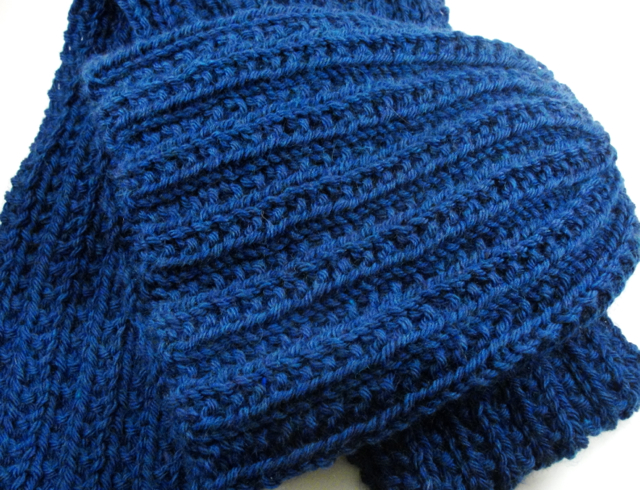
To celebrate getting my website/blog up and running, I’m releasing my first ever free patterns! This set is knit in chunky yarn on big needles in a simple two-row pattern. It goes really quickly. Perfect if you’re a procrastinator (like me) or scrambling for a handknit gift a few days before a Christmas party (like I was).
SIZES: Hat: will stretch to fit heads from 18 to 26 inches [46 to 66 cm]; Cowl: 48 inches [122 cm] long, 4.5 inches [11.5 cm] wide (unstretched)
YARN: sample was knit in Ella Rae Classic Chunky Superwash (100% superwash wool; 121 yds/111 m per 100g skein); color 13. The hat took every last bit of 1 skein and the cowl took 2 skeins with about 20g left over. Just about any chunky or bulky weight yarn would be appropriate for this pattern.
NEEDLES: Hat:US #10.5 [6.5 mm] circular needle, 16 or 20 inches long & set of US #10.5 [6.5 mm] double-pointed needles (or preferred needles for working top of hat in the round). Cowl: US #10.5 [6.5 mm] straight or circular needles, any length.
NOTIONS: Stitch marker, yarn needle.
GAUGE: 14 sts/22 rows = 4 inches/10 cm in stockinette stitch; 20 sts/22 rows = 4 inches/10 cm in unstretched Lined Rib pattern.
Abbreviations used in this pattern:
k: knit
p: purl
st(s): stitch(es)
RS: right side
WS: wrong side
p2tog: purl two together
HAT:
Using US #10.5 [6.5 mm] circular needle, cast on 66 sts.
Join for knitting in the round, being careful not to twist. Place a marker to indicate the beginning of the round.
Begin Lined Rib pattern:
Round 1: *k3, p3; repeat from * to end of round.
Round 2: *k1, p1; repeat from * to end of round.
Repeat these two rounds for Lined Rib.
Work in Lined Rib until hat measures 7 inches [18 cm] (for close-fitting hat) OR 9 inches [23 cm] (for bigger, more slouchy hat) from cast-on edge.
Begin decreases after you’ve just worked Round 2 of the Lined Rib pattern. Switch to double-pointed needles when there aren’t enough sts to fit around the circular needle.
Decrease Round 1: *k3, p1, p2tog; repeat from * to end of round—55 sts.
Decrease Round 2: *k1, p1, k1, p2tog; repeat from * to end of round—44 sts.
Decrease Round 3: *k2, p2tog; repeat from * to end of round—33 sts.
Decrease Round 4: *k1, p2tog; repeat from * to end of round—22 sts.
Decrease Round 5: *p2tog; repeat from * to end of round—11 sts.
Decrease Round 6: *p2tog; repeat from * to last st, p1—6 sts.
Cut yarn, leaving a long tail. Thread tail on a yarn needle and draw through live sts on needles. Pull tight to close hole.
Weave in ends and block hat if desired.
COWL/INFINITY SCARF:
Using US #10.5 [6.5 mm] straight or circular needles, cast on 24 sts.
Do not join. Working back and forth in rows, begin Lined Rib pattern:
Row 1 (RS): *k3, p3; repeat from * to end of row.
Row 2 (WS): *k1, p1; repeat from * to end of row.
Repeat these two rows for Lined Rib.
Work in Lined Rib until piece measures 48 inches [122 cm] from cast-on edge.
Bind off all sts loosely in pattern.
Using mattress stitch, sew the short ends of the cowl together to form a loop. Weave in ends and block cowl if desired.
Hope you enjoy!
First post!
One of the best things about finally getting a website together is having a good excuse to start a blog! I’m excited to post about my upcoming designs, as well as a host of other things I’ve had simmering for a while.
To kick things off, I’ll be posting two free patterns tomorrow: a chunky-knit hat and cowl/infinity scarf set. Stay tuned!
Here’s a peek at the set:


