An absence of knitting….
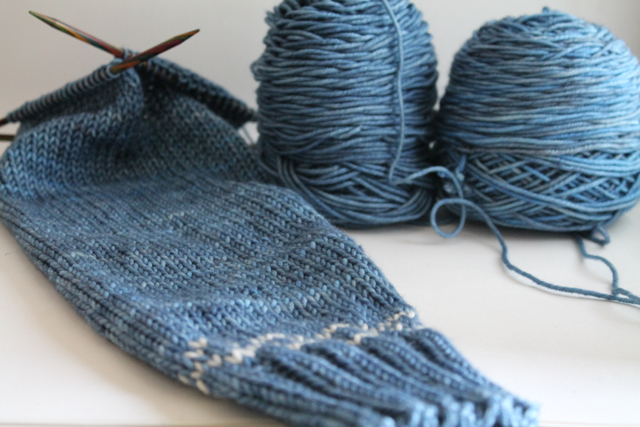
For the first time in about five years, I haven’t knit a stitch for the past four or five days. I’m waiting for two (count ’em, two!) shipments of yarn for commissioned designs that both have tight timeframes… so I haven’t wanted to start anything, knowing I won’t be able to pick it up again for a few months.
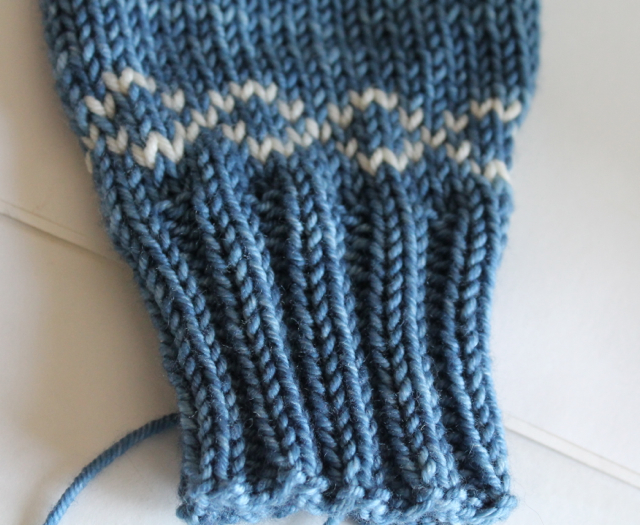
But pattern writing and math for Blue Betty are happening, so that’s good:
And lots of writing is getting done (my other artistic pursuit), so that’s good too. But I hope my yarn comes soon–my fingers are definitely feeling a bit itchy!
FO Friday (and new pattern): Rosanna Wrap!
It’s so nice to have a plethora of projects that I’m allowed to show off!
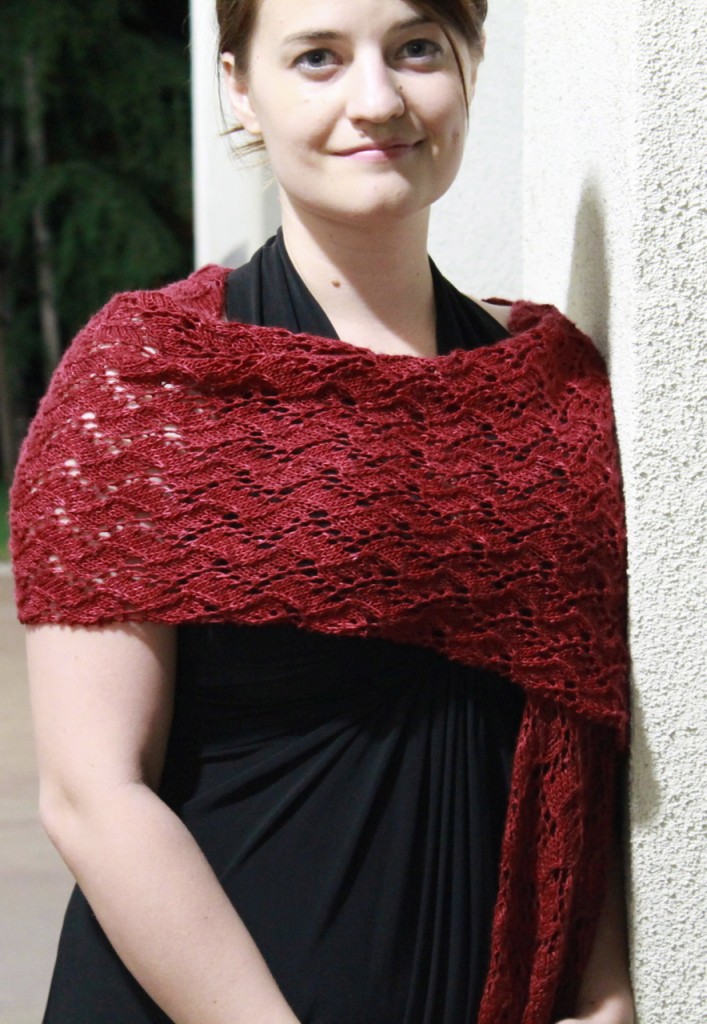
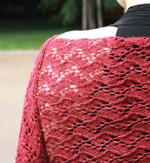
This is my newest design, Rosanna Wrap:
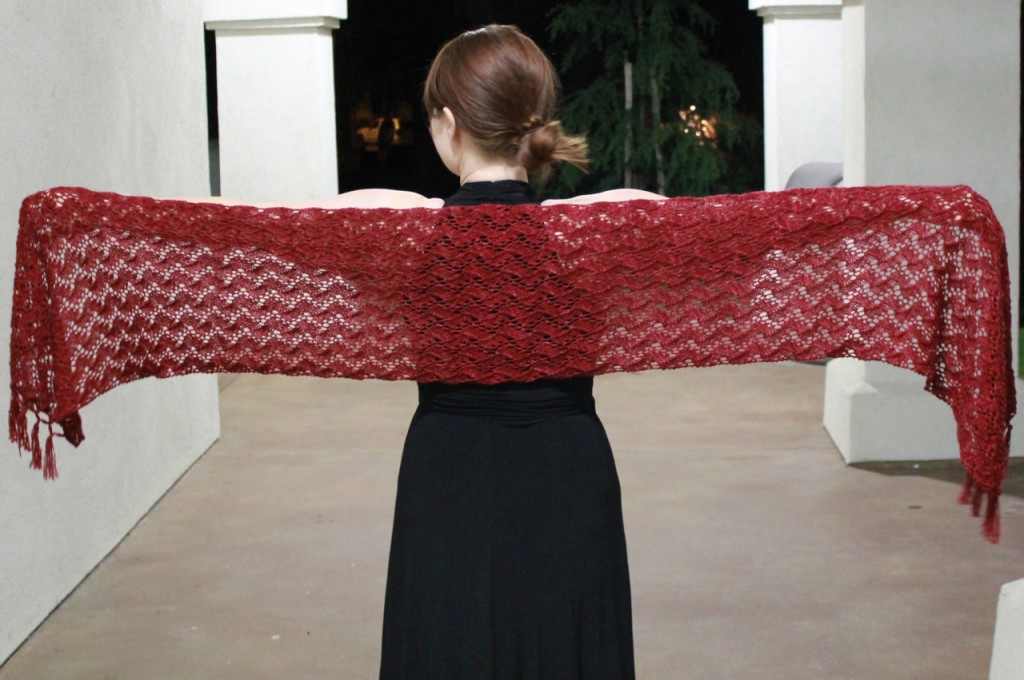
I picture this wrap being perfect for dressy nights out in the summer–it looks fab with a little black dress. And it’s long (75″), so there’s enough fabric to actually keep one warm.
Blocking the finished wrap was a bit of an adventure. I wanted a nice straight edge (obviously), but I don’t own blocking wires (haven’t ever needed them before) and had only about 50 pins. First, I went out and bought a couple more packs of pins. Then I used a method I found on Ravelry: I ran cotton yarn along each edge, pulled tight, and then braced the cotton with pins so the lace was pulled tight and able to open up.
It worked rather well, if I do say so myself–but slowly weaving in the cotton yarn and putting in a few hundred pins isn’t an experience I care to repeat very often!
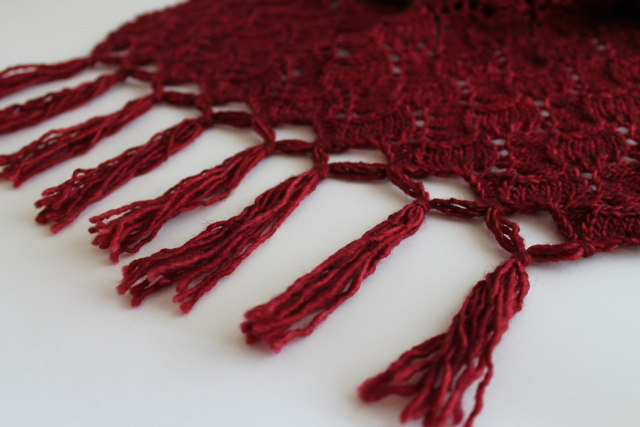
I also decided to up the dressy-factor by adding a knotted fringe. I had to look up tutorials on how to do this and I figured others might have to as well… so I included my own photo tutorial in the pattern.
Here are the specs on my FO:
Pattern: my own Rosanna Wrap, available to purchase on this website or through Ravelry here.
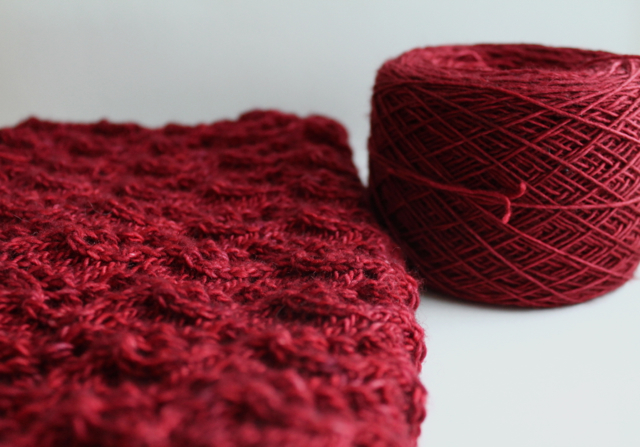
Yarn: madelinetosh tosh merino light, 2 skeins in Tart. I blogged here about my worry that my two skeins (purchased at different times) were too different from each other… but oddly enough, that appears to have been completely addressed by blocking. The dye ran pretty severely when I soaked the FO–I had to empty the sink and add fresh water five or six times before it was clear. The excess dye seems to have evened out the difference in the colors, which is so lucky I can hardly believe it. But the proof is in the pictures!
Check Slouch Update
My new pattern in Knitscene Accessories 2012 made Ravelry’s Top 20 list of what Ravelers are viewing!
It’s only the second time that’s ever happened to me. It’s just as exciting as the first!
New pattern: Check Slouch!
Knitscene Accessories 2012 is now available for digital download and pre-order–and one of my patterns is in it!
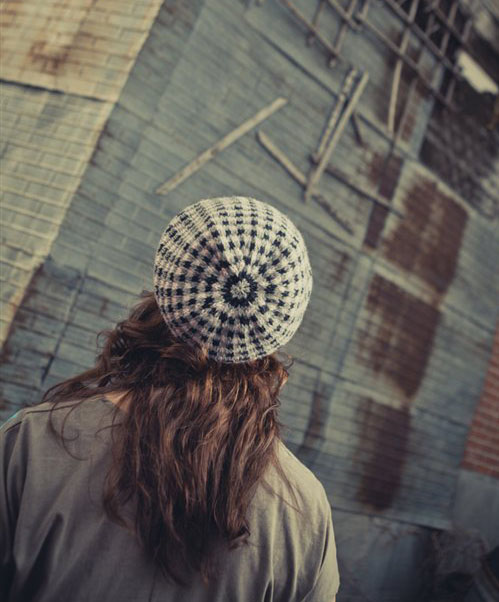
This is Check Slouch, my first magazine pattern:
I am beyond thrilled with the amazing photography and styling. (And I wish I had that model’s hair!)

The hat is knit in the round from the bottom up and uses a super-easy slip stitch pattern to form the checks. There’s only ever one color being used per round, which makes it suitable for colorwork newbies.
The physical magazine will be hitting newsstands at the beginning of June–I can’t wait!
FO Friday: Blue Betty!
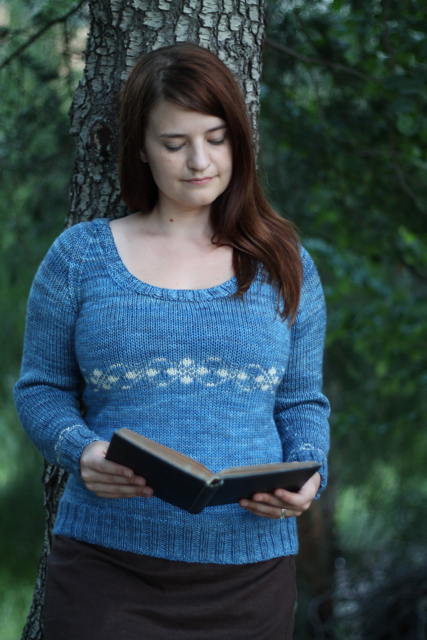
The blue Tosh sweater is finished, blocked, and photographed!
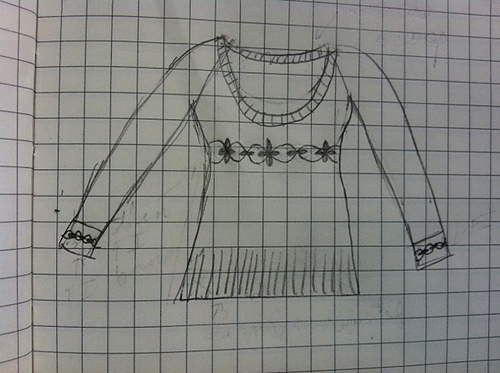
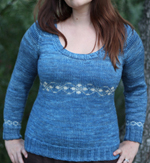
I’m so, so happy with the way this design turned out. My intention was to design a colorwork sweater that would be flattering to larger-busted gals. Here’s my original sketch:
I did add ribbing on the sleeve cuffs. My first idea was to do a turned hem, but I don’t think it would have looked right with the ribbing at the bottom and the neck. Other than that, the sweater’s pretty much the same as I envisioned!
Hubby and I went out to a local park and strapped the 50mm/f 1.8 lens to our Canon Rebel T3. I cannot begin to express my love for this camera and this lens. Practically every shot pops right off the screen. And after hours of manually blurring backgrounds in Photoshop on the pictures from our point-and-shoot, having pics that don’t need anything more than a little cropping is spectacular.
The Tosh just glows, doesn’t it?
Here are the specs on the FO:
Pattern: my own, tentatively called Blue Betty. I’m hoping to get it into the hands of test-knitters next week and release the pattern in a month or two.
Needles: 32-inch circs in US #6 and #7, plus DPNs in both sizes. Loving my Knit Picks Harmony DPNs–they really make sleeves in the round more enjoyable.
Yarn: madelinetosh tosh vintage in Betty Draper’s Blues (about 4 and a half skeins) and Antler (about 1/4 skein).YUM. Tosh vintage remains up there on my all-time-favorite yarn lists.
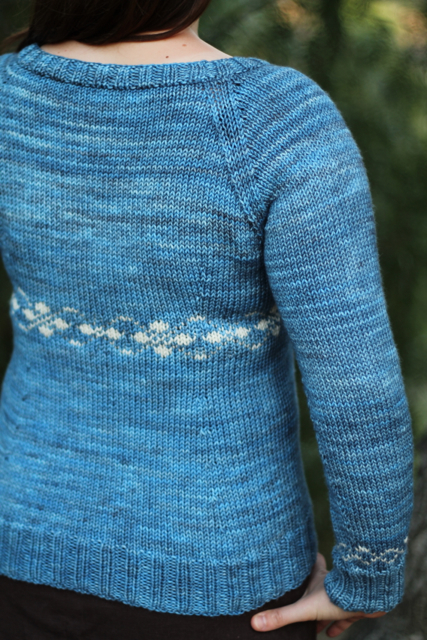
Two of my skeins were much darker than the others, which unfortunately didn’t show up until I wound them into balls. I alternated skeins on the sleeves and yoke to address this, and I think it worked out okay. There’s a little bit of striping, but nothing I can’t live with. You can see it on the upper back in this pic:
Notes: I love the fit of this sweater. I tried back shaping only instead of my usual side shaping, and I’m totally sold. My back is much narrower than my front, so this sweater fits me better than any others I’ve knit. The colorwork band pulls in right under the bust and adds an almost empire waistline effect.
Now on to writing up the pattern! Also fun, but not as fun as knitting (and wearing) the sweater…
FO Friday: Ruffled Baby Hat
My last three FOs were secret design projects, and I’m currently working on three (!) large garment designs, so there hasn’t been much FO Friday action around here. But this week I actually have something to show off!
I whipped up a little baby hat for my friend’s impending new arrival (who might be making her grand appearance sometime today, it turns out! Glad I sent it last week… ).
It was sort of bizarre to knit from someone else’s pattern for the first time in… six months? Eight months?
Here are the specs:
Pattern: Ruffled Baby Hat (Ravelry link).
Yarn: Cascade Pacific, less than half a skein in color #32. I picked up two skeins of this newish wool/acrylic blend at a yarn store in northern California. It’s very, very soft and washable–I was impressed! Definitely one of the better acrylic blends I’ve used.
Needles: size US #7 (4.5 mm).
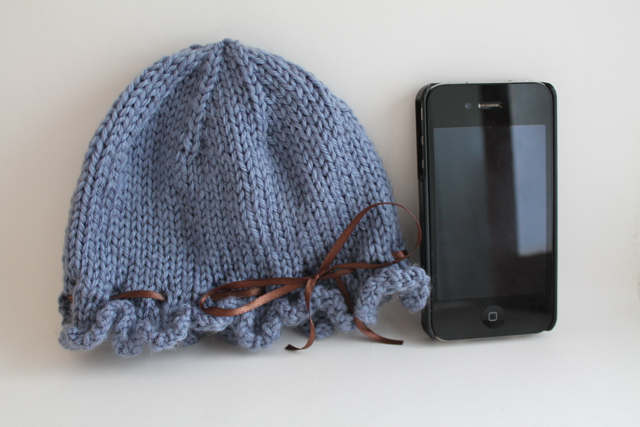
Notes: This hat knit up mega-fast, about 2 hrs from start to finish. I modified the pattern by adding an eyelet round a little bit above the ruffle–just a simple [k2, yo, k2tog] around. I’ve had the thin brown ribbon sitting around for years, and I think it looks great with the lavender.
The hat is SO TINY AND CUTE. It was a wrench to send it away, even though I have no kids (and won’t anytime in the near future). I just wanted it around to coo over every once in a while… there’s nothing wrong with that. I think. :-)
Pic with iPhone for scale (that’s a totally normal thing to do, right?):
WIP Wednesday: Blue Betty
I’ve got a colorwork design in beautiful Madelinetosh Tosh Vintage to show you today! As of this afternoon, I have the body and both sleeves finished:
I was originally planning to do a smaller version of the body motif for the cuffs, but it’s a 22 stitch repeat and would have made the sleeves too hard to size up or down, so I went with a simple 5 stitch repeat that (hopefully) does a good job of echoing the main pattern instead:
Usually I have trouble coming up with clever names for my designs, but this time I think I have a good one. The colorway is called Betty Draper’s Blues, so I’m calling the sweater Blue Betty. Perfect, isn’t it? :-)
Now, on to the yoke!
WIP Wednesday
Now that the hubbub of Blog Week has died down, I can get back to regularly-scheduled blogging!
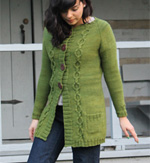
The green sweater is currently languishing in the WIP basket, waiting for buttons and possibly afterthought pockets. I’m giving it some time to marinate while I decide.
In the meantime, I’m working on a shawl design (my first!) in Tosh Merino Light. Being a newbie at shawl design, I didn’t plan for enough yarn, so I had to order another skein.
And now I’m paralyzed by doubt. I knew getting a similar-enough color was a total crapshoot, but I thought I got lucky–the new skein looked close enough in color when it arrived, but now that it’s caked I’m not sure. I don’t want to rip out the whole thing and alternate skeins (I’m 3/4 done!), but I have a bad feeling there’s going to be a noticeable line.
Hmm… although, looking at the picture, the new cake doesn’t look very different. I should probably just bite the bullet and work a few inches before making a final judgement.

