Foldable/Collapsible Lightbox Tutorial
As promised, here are the instructions for the collapsible lightbox! Disclaimer: my wonderful husband put the thing together, I just took all the pictures.
Please note that this takes a while to put together. Give yourself at least three or four hours.
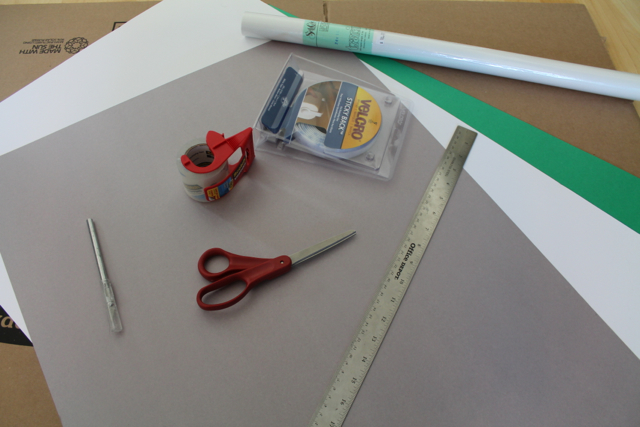
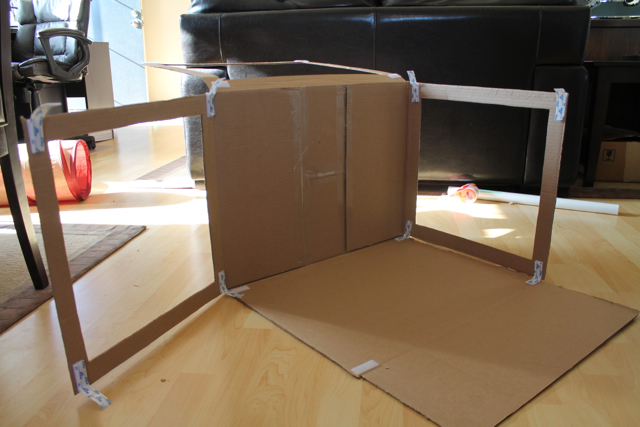
Step 1: Assemble the following materials:
-Large cardboard box (this one is 24x18x18)
-Roll of tracing paper
-Roll of double-sided Velcro tape
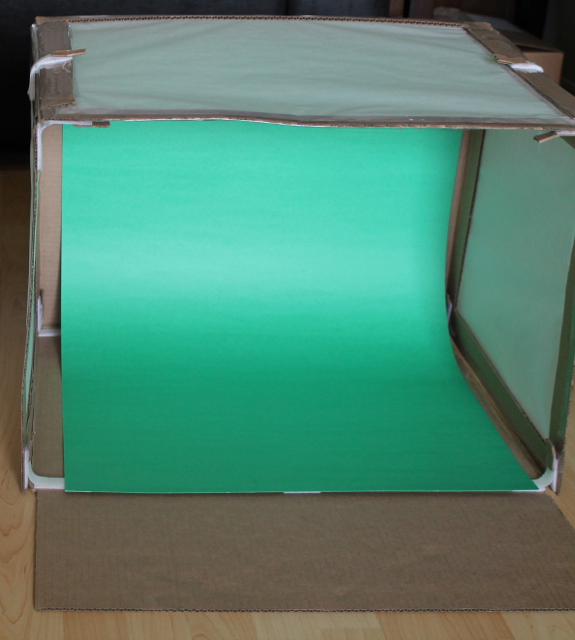
-Clear packing tape
-utility knife/box cutter
-Scissors
-Ruler
-Pencil
-A large white piece of stiff paper, at least as wide as your box
-(optional) Additional pieces of stiff paper in other colors, if you’d like to have a few different backdrops
We got everything from an artists’ supply store except the box, which we got from the local hardware store. Total cost for everything was about $30.
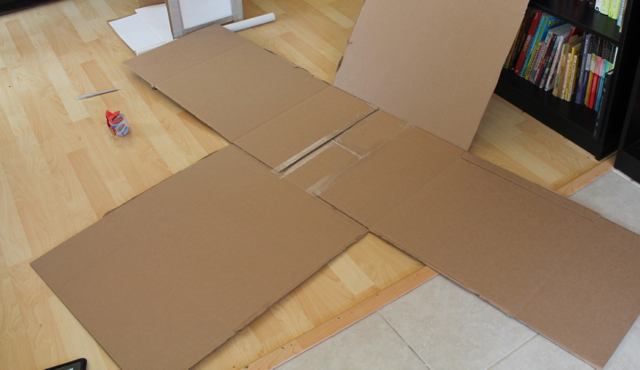
Step 2: If your box isn’t pre-assembled, tape down the bottom flaps. Using the utility knife, cut the box open along the sides.
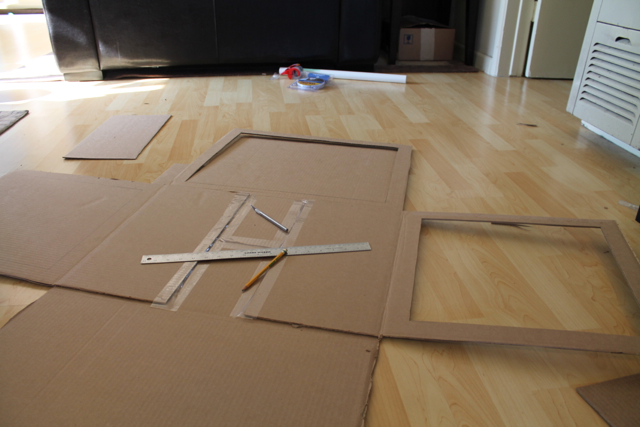
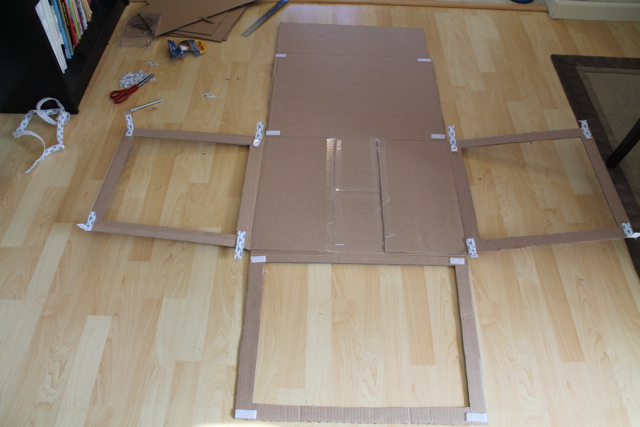
Step 3: Measure one and a half to two inches from the edge on three of the panels and mark rectangles with the pencil and ruler. Using the utility knife again, cut out the panels (it’s a good idea to put something underneath so you don’t cut into the floor).
Step 4: Cut short strips of Velcro tape and affix to the corners of each panel so the sides are held together.
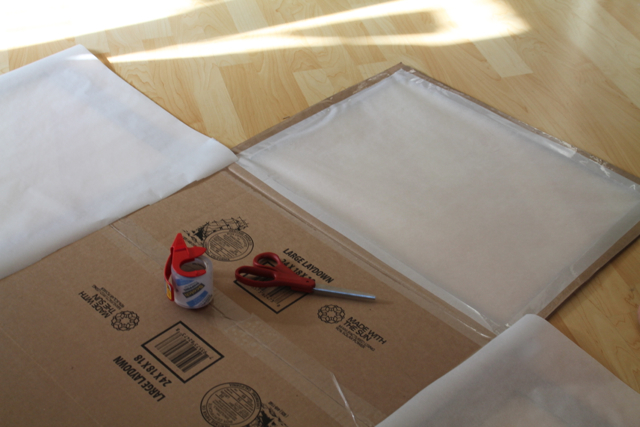
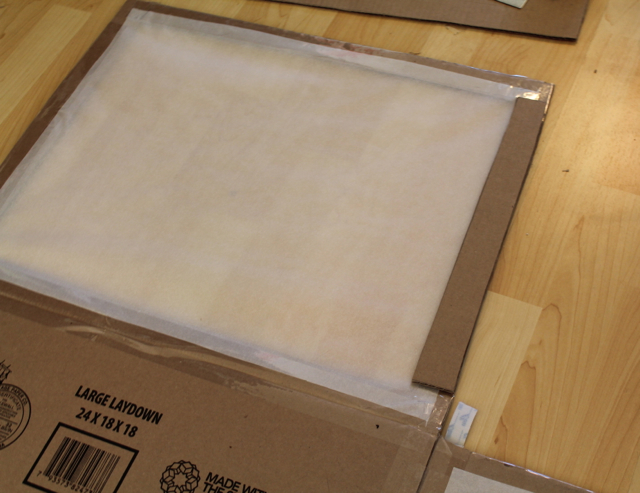
Step 5: Cut pieces of tracing paper to fit over the cutouts in the panels. Trim tracing paper to size and use packing tape to secure.
Step 6: At this point, we determined that the sides were a bit floppy because our box wasn’t the sturdiest one around. If you have this problem, you can do what we did: cut narrow support pieces out of waste cardboard and tape in place.
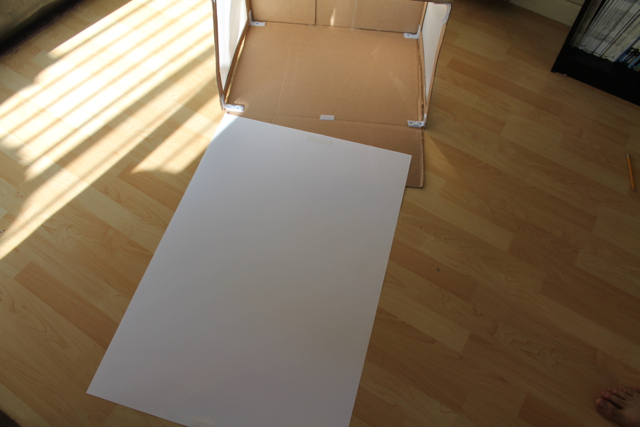
Step 7: Cut the heavy white piece of paper so it just fits the width of the box. Cut to desired length and affix pieces of Velcro tape to the paper and to the inside of the box to hold the backdrop in place. Repeat with any other backdrops, making sure they fit properly inside the box.
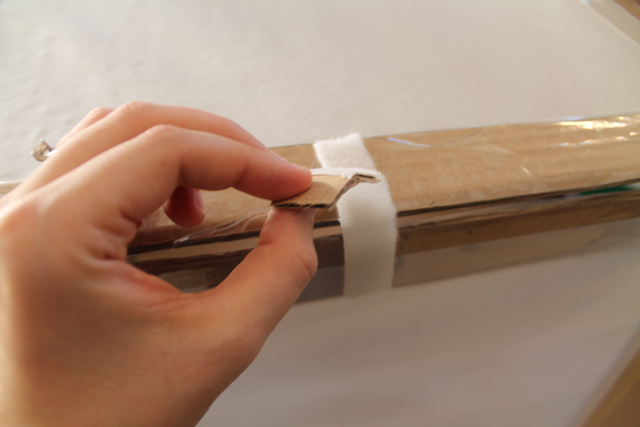
Step 8: (optional) If you find it difficult to pull the Velcro tabs apart quickly (we did), cut small bits of cardboard to use as pull tabs and tape in place. You can also put small pieces of tracing paper over the back of the Velcro strips, although this is mostly just for aesthetic value.
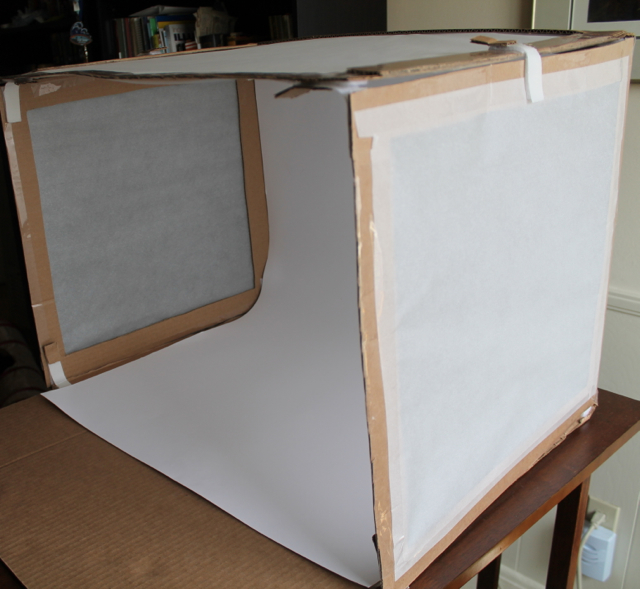
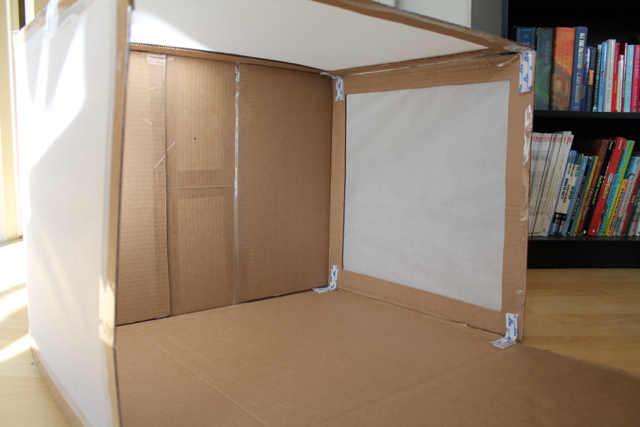
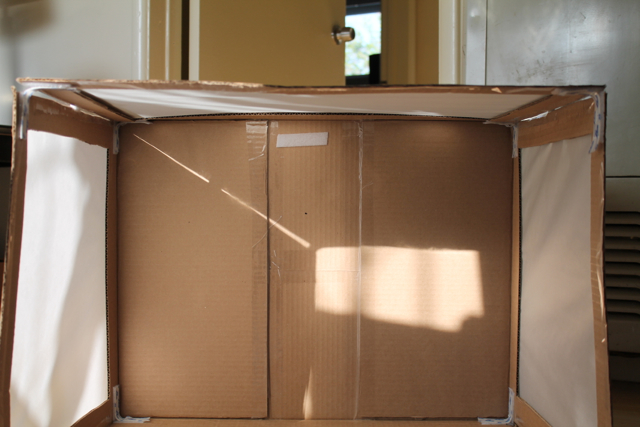
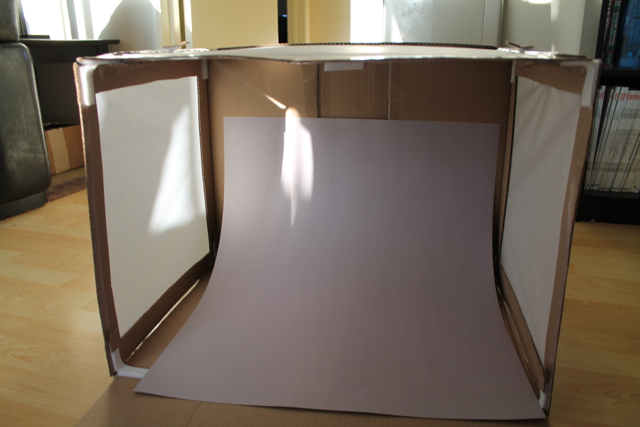
The lightbox is now completed!
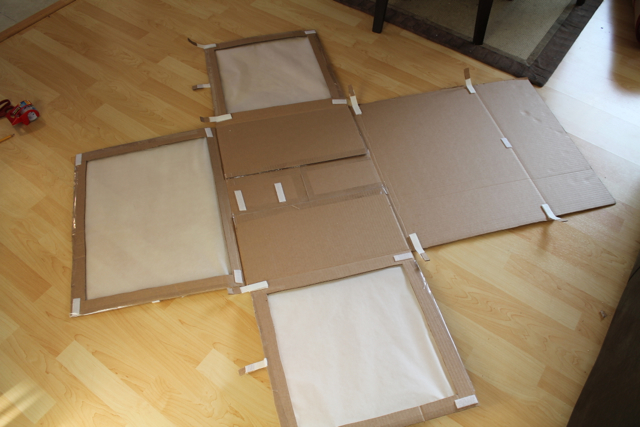
We determined the best way to fold it up was to fold the side panels in, then fold the bottom up over it, leaving the top flat. It still takes up some room, but it’s easy to stick the flat box in the back of a closet.
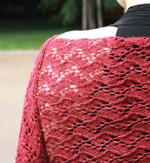
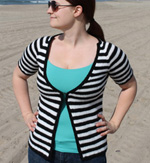
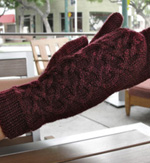
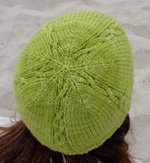
Lights can be set up so they shine through the tracing paper and give nice, even lighting to your subject. Here are a few shots of the box in action:
If you make a box using this tutorial, I’d love to hear how it goes!























What a great idea! Thank you for sharing the tutorial.
This was such a great tutorial, your husband is very clever! I’d say that it is very, very functional for $30, totally worth it. I’m definitely going to make my own once I’m settled into my new apartment.
Wonderful tutorial!
Thanks for sharing!
I’ve told my hubby to look for a big box so he can make me one ;)
Brilliant – clever hubby! Clever you! Love the idea of different coloured backdrops.
What a great tutorial. It looks very doable using because many of the materials are already in my craft room. Thanks for sharing this.
[…] I knew I wanted a simple lace pattern, but one that would be pretty and feminine at the same time. After swatching a few (okay, maybe five or six) different patterns, I settled on this snowflake lace. The swatch was knit up in Tosh and photographed in my DIY lightbox. […]