Design Process Part 2: Sketching, Swatching, and Math
Earlier posts in this series: Design Process Part 1: Inspiration
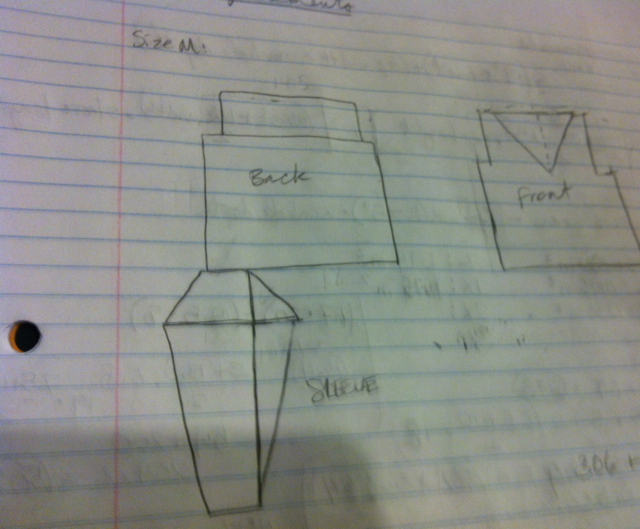
Now that I have a pretty good idea of the general look and construction I want for the sweater, it’s time to think about the details. First up, I do a rough sketch of the design.
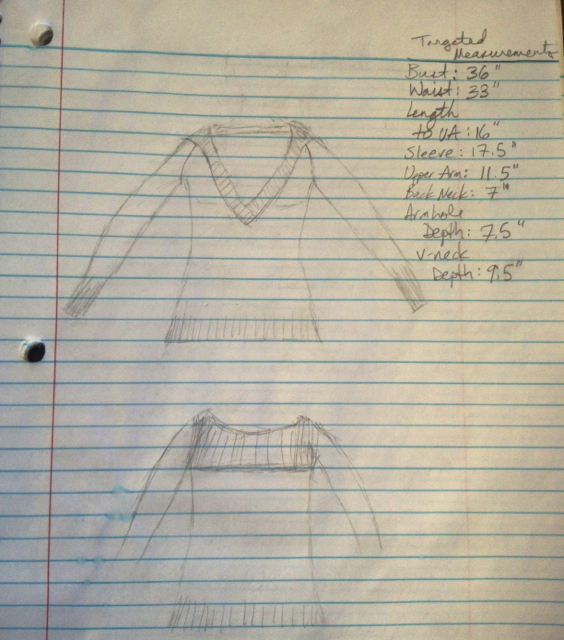 Ahem. I did warn you it was rough. I’m not much of an artist, so if the sketch isn’t for submission to a publication, I don’t spend much time on it. But it gets the idea across!
I also included the targeted measurements for my size. Before, I would need to look up standard guidelines for this bust size, but I’ve knit enough size M fitted sweaters now that I know most of these measurements off the top of my head. A few of them are specifically tailored to my preferences–I like a little bit of positive ease on the upper arm, for example, but I tend to like an inch or two of negative ease at the bust. I also tend to like slightly longer sweaters (probably because a large bust tends to make shorter sweaters ride up at the bottom!).
Next up, choosing yarn! Fun!
It was pretty easy in this case. I have this gorgeousness in my stash:
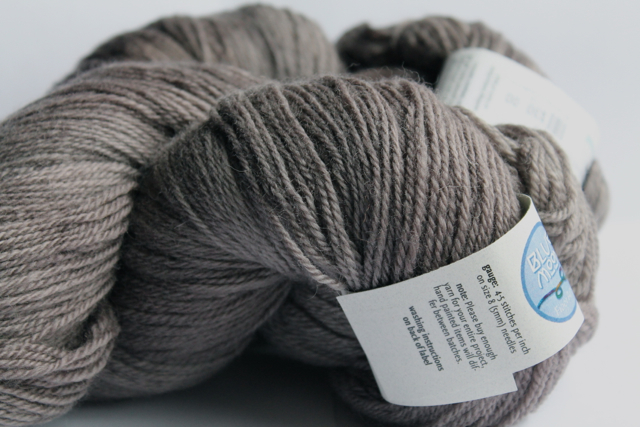 This is Blue Moon Fiber Arts BFL Sport in the “Manly, yes, but I like it too!” colorway (great name, eh?). I purchased two giant skeins (about 1300 yds) at Rhinebeck last October. After checking Ravelry, this looks like plenty to knit this type of sweater in a 36″ bust size. The great thing about top-down, too, is I know I have the option of knitting shorter sleeves or a shorter body if it looks like I’m running low on yarn.
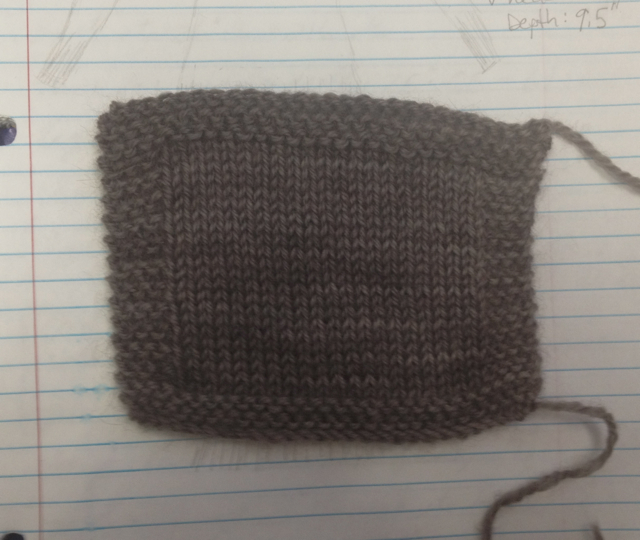
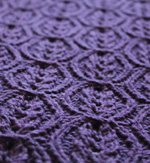
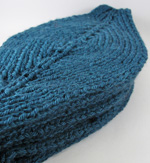
Swatch time! As I mentioned in this post, the recommended size on the label for this yarn is incorrect. After a quick check on the yarn’s Ravelry page, I started with US #4 (3.5 mm), and I liked the fabric I got after I wet-blocked the swatch:
My measured gauge after blocking is 6 sts/8.5 rows to the inch. A little thinner than I usually prefer (I’m generally a DK and up girl), but the yarn’s soft and nice to knit with. Due to some kind of distracting life stuff going on right now, a stockinette, finer gauge sweater is just what the doctor ordered!
If I were knitting a bottom-up sweater, this is the point where I’d usually do some quick, rough calculations and then dive right into the knitting.
BUT… this is going to be a top-down sweater. So that means I have to do a whole bunch of math before I know how many stitches to cast on.
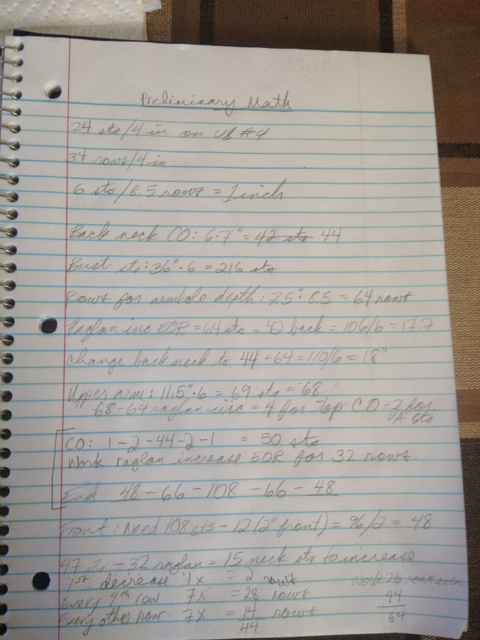 Yeah, that wasn’t too much fun. It took me two whole episodes of Supernatural!
Some designers prefer to grade the pattern for all the sizes before they start knitting the sample in their size. I confess, I’m not one of those. I work out the numbers for my size, tweaking them as I go, and then grade the pattern for the rest of the sizes when I’m finished with the prototype.
Next up: casting on! Woohoo!
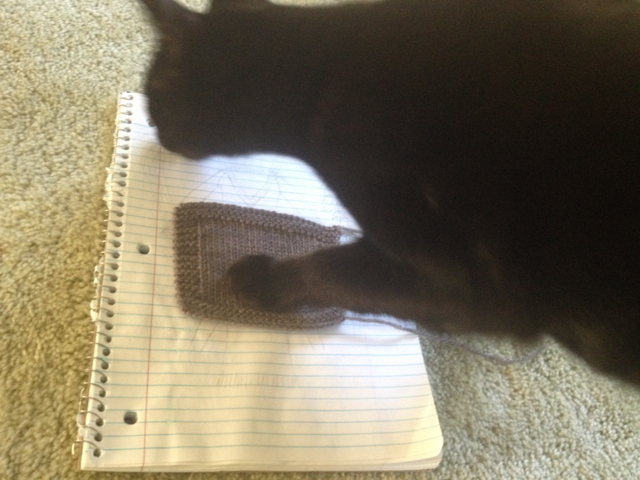
Bonus picture: one of the kitties “helping” me photograph the swatch.
Math, math, and more math
Gosh, I feel like I haven’t shown much of anything here for a while (posting my husband’s hat last week was intended to distract from this fact–did it work?).
There’s a good reason. Here’s what I’ve been doing instead of knitting:
I’m working on sizing a sweater design for a yarn company. This is called “grading” among the pattern-writing community. It’s HARD. Especially when you’ve designed a cardigan with large cables and 3X3 ribbing (even on the sleeves) that must be maintained for each size.
I have about ten more pages in my design notebook that look pretty much like this one. Many designers prefer to grade patterns in Excel or another spreadsheet program… but to be honest, I like working everything out on paper better. Plus I never really learned how to use Excel to its fullest potential, and the amount of time it would take to learn seems somewhat prohibitive at this point.
Plus, this way I get to use my iPhone, an incredibly powerful hand-held computer, the same way I’d use a $2.99 calculator, which entertains me for some reason.
But as I’ve said before, I actually really do like math, which helps the whole process a lot. And figuring out how to maintain the overall look of a sweater while upsizing/downsizing parts the right amount appeals to the part of me that likes puzzle-solving.
I did get buttons for the green sweater this weekend. It was surprisingly difficult to find 4 large (1.5″) brown buttons, but the fifth store I went to had some that will work. This means blocking can commence! Hopefully I’ll have pictures for FO Friday this week…
In Which I Use Algebra
In what seems like a former life, I spent some time teaching algebra to pre-teens and teenagers. The number one question anyone who spends time in this particular pursuit hears is, of course, “When am I ever gonna have to use this?” (sometimes accompanied by a curse word, depending on the teenager).
I usually had to go with “well, you need it for college,” or “it’s helpful for logical thinking practice”, or a cooking or construction example that 95% of the students wouldn’t be able to relate to at all.
But I was thinking yesterday… geez, I wish I had been designing then. Because I use algebra ALL THE TIME now. I have a whole notebook full of algebra equations. It’s a thick notebook, even. I use algebra to figure out sweater dimensions, to upsize and downsize a sample so it’ll fit people of many shapes and sizes, and to calculate the exact ratio a sleeve cap should have to its corresponding armhole.
Here’s what I was doing yesterday when I started thinking about this: working out yarn requirements for the different sizes of my Bevin Pullover.
First I split the pieces of the sweater up into geometric shapes:
Then I wrote out algebraic formulas for the area of each shape, in order to figure out the square inches of knitting in each size:
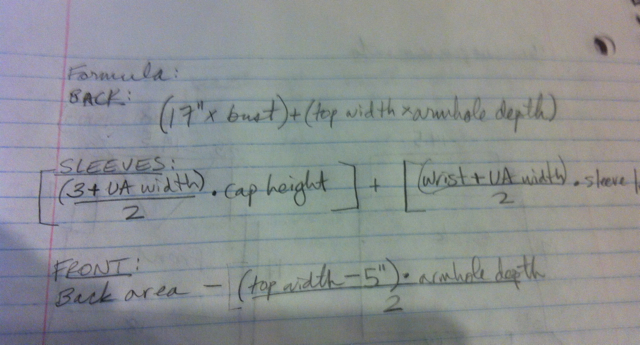
I'm especially proud of myself for remembering the formula for the area of a trapezoid without having to look it up.
It might look a little complicated, but it’s actually very basic. I just took my numbers for each size, plugged them into the formula, and it spit out the total square inches for each size. Then I figured out how much yarn per square inch my swatch used, divided by that number, and voila – fairly accurate yardage amounts!
If only those kids could see me now….

