FO Friday: Baby Put Together
Continuing with the theme of baby obsession, here’s my newest FO:
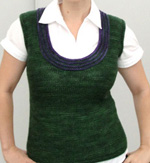
 It’s a baby version of one of my first garment patterns, the Put Together vest:
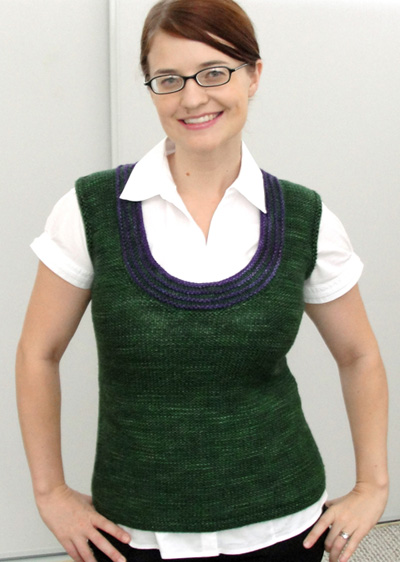 The downsizing added some challenges, especially on the neck/neckband section. I had to rip out and re-knit the neckband five times to get the decreases right so it wouldn’t ruffle.
After all those decreases, I was a little worried about a giant baby head being able to fit through there, so I changed the neckband from worked in the round (as it was in the original) to worked flat with a button. I think it came out cute:
Pattern: my own, based on my Put Together adult vest.
Yarn: Madelinetosh Tosh DK in Dr. Zhivago’s Sky for the MC. I used less than one skein for a 3-6 month size! The contrasting color is some Tosh DK Twist I had left over from my Creme de Menthe vest.
As usual, working with Tosh was fantastic. It was nice to not have to worry about alternating multiple skeins, though. And I bought two skeins, so I have one left to play with!
Notes: I was aiming for unisex colors, and I think it worked out pretty well (okay, maybe it’s a little on the boyish side, but close). I can’t wait to see my little one in this!
Blog Week Day 1: A Day In The Life 5KCBWDAY1
Describe a day in the life of a project that you have made, or are in the process of making.
A month and a half ago, the idea to design a baby blanket for my in-utero son/daughter was born. It would be worked from the outside in (so the work went more and more quickly as it got closer to completion, rather than the other way around).
664 cast-on stitches and many hours of work later, this is what it looked like.
 Imagine my surprise when, due to a discrepancy between the swatch and the actual blanket, it began to be clear that it was at least 8 inches longer per side than originally intended.
Oh well, it could always go on the baby’s toddler bed, right?
The blanket was stuffed in my largest project bed and placed by the sofa, in perfect position to be picked up during TV watching (mostly Castle, since the hubby and I were catching up on the latest seasons). It progressed sloooowllly, but it did progress.
Right about this point is where I decided I’d like some visual interest in the center (and honestly, a break from all that stockinette didn’t sound like a bad idea either). Cue ripping back five or six rounds and knitting another repeat of the border pattern:
 Then it was a question of geometry. I tried continuing the every-other-round decreases in the very center, but I was heading for a “nipple” of epic proportions. So I ripped it back to the motif. Then I tried every round decreases in stockinette. This worked geometrically, but visually… it just wasn’t doing it. Rip again.
Cue some attempted interference:
After shooing the cat away, I finally hit on the solution: a reverse stockinette stitch center, with decreases every round. This worked perfectly and looked great! As of (very late) last night, the knitting is done. No pics yet, but they’ll be coming soon.
Now it’s just a matter of weaving in ends and blocking. The baby isn’t coming for two months, so surely I’ll have it done by then….
WIP Wednesday: Blanket and TNNA prep
The baby blanket is almost done! It looks a lot better now that it’s not so scrunched up on the needles:
I ran out of yarn a few days ago and ordered a couple of skeins from Knit Picks on Monday with express shipping. Imagine my shock when they were on my doorstep yesterday. Their warehouse is in Ohio, only one state away from me, but still–that’s some lightning fast shipping!
I think I might do another repeat of the border pattern to echo the motif and break up the swath of stockinette, but I haven’t 100% decided yet. I’ll probably try it–I can always rip it out if I don’t like the way it looks. (It’s a lot less daunting to rip out sections at this point than it was earlier, when there were 600+ sts!)
I’m also deep in planning for the TNNA summer show this weekend. Like last year, I’m part of a rotating exhibit of designers through my print pattern distributor, Stitch Sprouts. I’m really excited that the show is in Indianapolis this year, only about 45 minutes away from me. It means I can haul my 7-month pregnant self there without too much difficulty.
I wanted a good way to display some hats on a table in my booth, but I forgot to order early enough to get cute hat stands from Etsy or eBay (I blame pregnancy brain). So yesterday I went out and got some inexpensive paper towel holders, styrofoam balls, fabric remnants, and ribbon. Following parts of a few different tutorials I found online, I came up with this:
I think they turned out pretty cute!
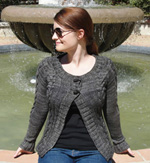
FO Friday: Unnamed Baby Cardigan
I finished this little sweater a few weeks ago, but I never got around to blogging about it.
 Most of the party is in the back:
Pattern: My own (very first self-designed baby garment!).
Yarn: Malabrigo Worsted in Emerald, about 1.25 skeins. This yarn has been marinating in my stash since August of 2012 (long time readers might remember it from this birthday wrap-up post!). I love using long-term stash yarn.
And yes, it’s completely impractical, since the yarn isn’t machine washable. But it’s cuddly soft, and I figure my baby will probably fit into it for about 30 seconds anyway, so I’m willing to do a few hand-wash-and-dry-flat rounds.
Notes: I was shooting for a 3-6 month size, since my little one will be born in July and this won’t be worn until the fall. I think I pulled it off, but the sweater looks so teeny to me… I guess time will tell.
My plan is to write up this pattern and get it tested this summer, and then I can make this part of the baby collection I’m planning to release this fall.
I really like the little cable pattern on the back. It shows up so nicely in the Malabrigo:
 You’ll eventually see more pictures of this one when my model arrives!
WIP Wednesday: Outside-In Baby Blanket
Remember how I said I was obsessed with baby knits these days?
I knew I wanted to design some kind of baby blanket for my kiddo, so I delved into my inspiration folder and came up with these two blanket-like ideas.
After a bunch of swatching, I found a stitch pattern I liked that was reminiscent of the swirls from the first pattern. I figured a “start at the middle and increase on four lines to the edges” construction would work well for the pattern, but there was just one problem.
I hate projects that start with very few stitches and increase out to a zillion at the edges.
I would so much rather slog through the loooong part at the beginning and then be rewarded with ever-increasing speed and progress as I go on. That way the initial burst of enthusiasm sustains me through the beginning, and the visible progress sustains me through the rest of the project. So I decided to design this blanket to be worked outside-in instead of the more traditional inside-out.
I swatched a corner, took a picture, put it in Photoshop, and played around a little:
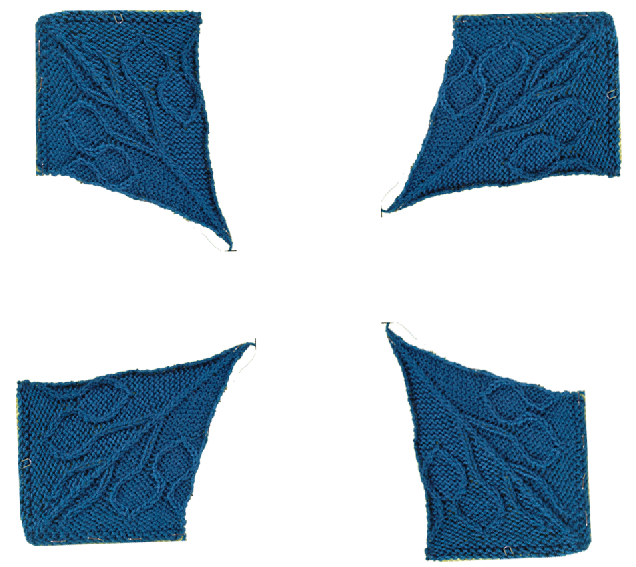 That’s the general idea, anyway.
I’ve been working on the blanket steadily for about a week now, and here’s what I have to show for it:
 Not very impressive, is it? But when you consider that the CO had 664 sts…
 I could possibly use a longer circular needle.
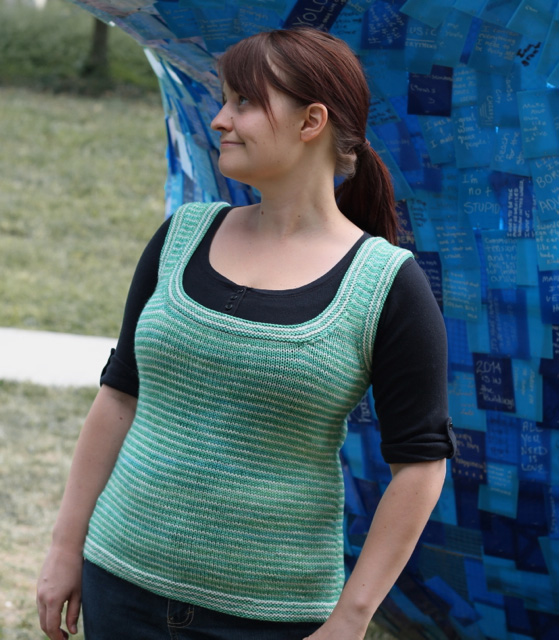
FO Friday: Creme de Menthe
I’m running my biggest promotion ever to celebrate my 30th birthday tomorrow: 50% off any self-published pattern in my Ravelry store with the coupon code 50for30. The sale goes through the end of the day tomorrow (US Eastern Time).
Official business out of the way, here’s the FO Friday post for my Madelinetosh Twist DK vest!
We had a blast with the photoshoot. I wanted a fun vibe, since the vest is a little more kooky than some of my pieces. I think it turned out pretty well!
The specs:
Pattern: My own Creme de Menthe pattern, which will be in testing in the next few weeks and probably released in… late September? Early October?
Yarn: Madelinetosh Twist DK, two skeins of Bluestem Willow and one of Farmhouse White. I can’t say enough good things about this yarn. Squishy, springy, delightful to knit with. It’s only available through the Madelinetosh shop, and I confess I’ve been stalking it a bit for a sweater quantity in a deep green or blue.
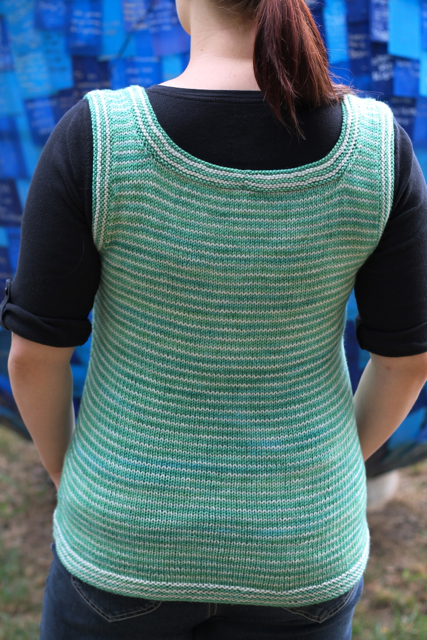
Notes: Gosh I love this vest! I decided up front to do 2:1 stripes through the body, which made things very interesting when it went from knitting in the round to flat. But that was perfect–after all that stockinette, the interest of having to read the knitting and push the work from one side of the needle to the other added just the right amount of interest.
I’m writing the pattern with two different sections for that part: first, there will be a little summary for those who have some experience or feel comfortable checking it themselves. Second, there will be a table with row-by-row instructions for those who need a little more hand-holding. This is a new format for me, so I’m interested to see how my testers like it!
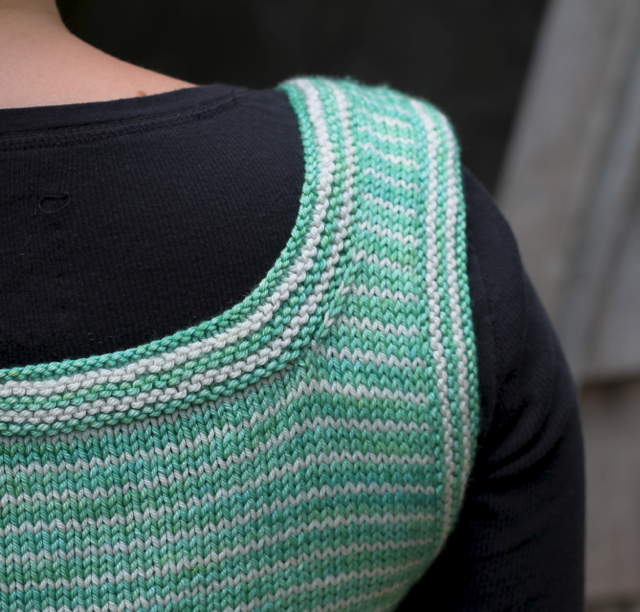
The planned stripe effect on the shoulders turned out great, if I do say so myself:
WIP Wednesday: A Sleeve and a Group
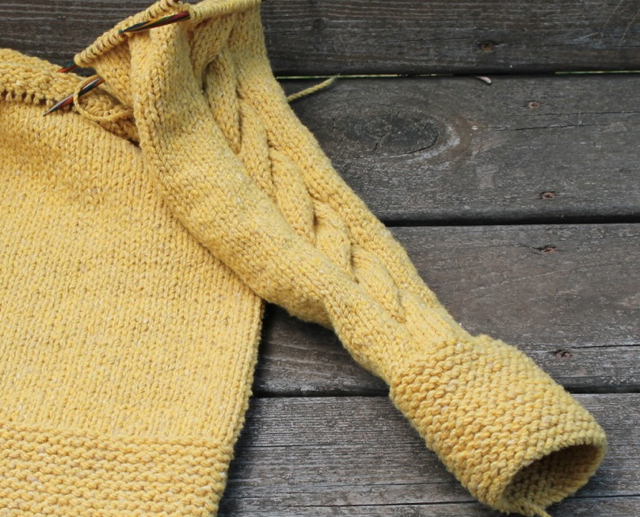
The yellow fall pullover now has the body and one sleeve finished:
I’m about 1/3 of the way through the other sleeve, and then it’s on to the yoke! I was planning on a raglan sleeve, but I’m starting to wonder if I wouldn’t like a saddle shoulder better. I’m going to contemplate this as I knit tonight.
In other news, I’ve finally started a Ravelry group for my designs! I’ll be posting test knits (like the cozy gray sweater, which went up for test knitting yesterday and is almost full already, yay!), promotions, new designs, and lots of other stuff there. Come check it out here if you’re interested: Triona Designs Ravelry Group.
WIP Wednesday: New Fall Sweater
I started a new sweater this week!
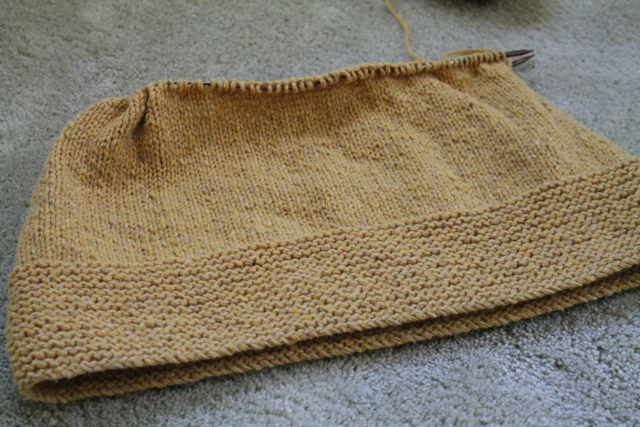 I adore it so far (to the point where I’m having to restrain myself from dropping everything else and just working on it 24/7). The yarn, Imperial Columbia, is so luscious that I’m already contemplating buying another sweater’s worth. It’s rustic-looking, but incredibly light and soft. And at a gauge of 4 sts/in, this is working up really quickly.
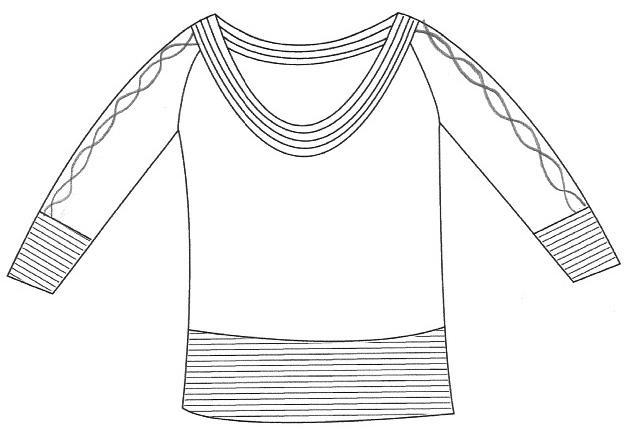
Here’s what I’m thinking the sweater’s going to look like. 3/4 sleeves with a fat cable, slight waist shaping, and a scoop-neck with garter edging:
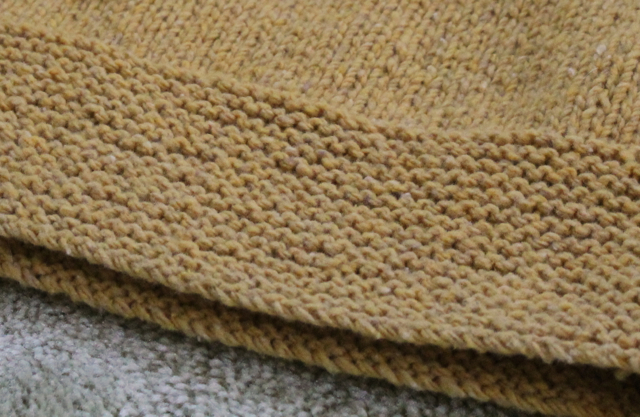
As you might have noticed, I’ve been on a garter stitch edging kick recently. It’s just so squishy and awesome!
WIP Wednesday: Two Steps Back
Just a quick little WIP Wednesday post today, mainly because my Creme de Menthe vest looked like this a few days ago:
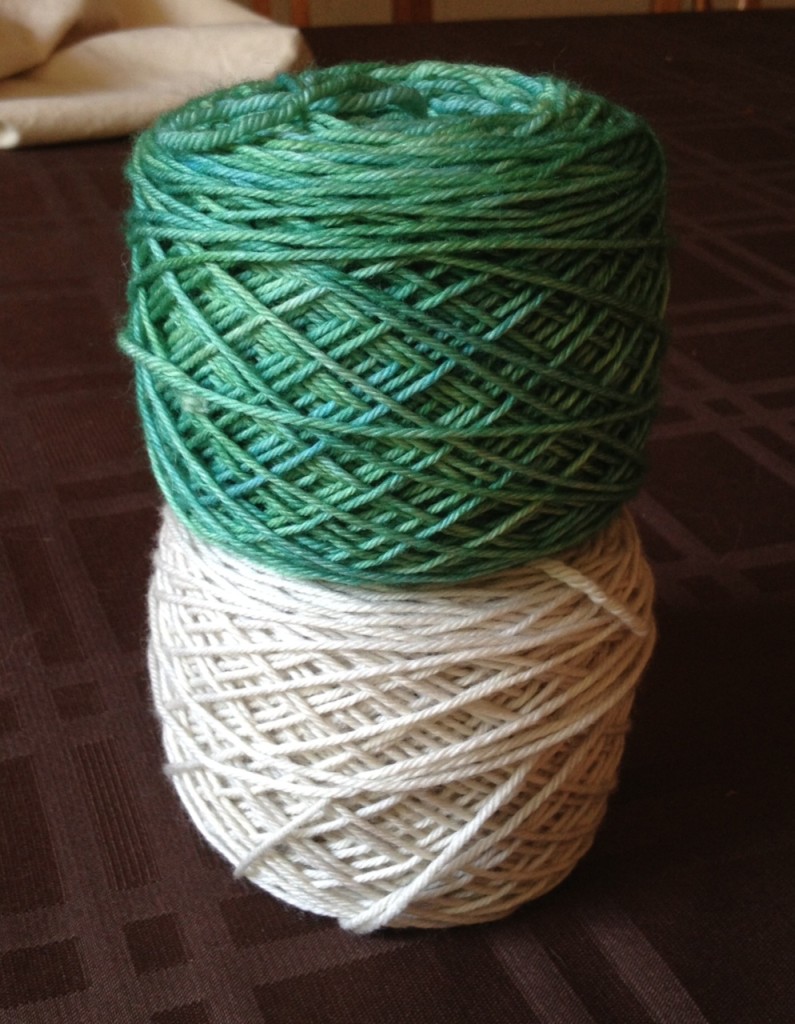 Sigh. I had a feeling while I was working on the vest last week that it was coming out too big, but I pushed the feeling aside and soldiered on, not wanting to contemplate ripping out and starting over (we all do this, right? Tell me it’s not just me). But when I had about 8-9 inches of fabric, I finally measured, and sure enough–it was almost 2″ too wide. My gauge changed from 5.5 sts/inch in the swatch to 5.25 sts/inch in the vest. Not a big deal if it’s a small piece, but it makes a lot of different over a whole garment.
But oh well. I’ve started again with fewer stitches and have about 3″ done. And I’m still madly in love with the yarn, so it could be a lot worse. :-)
WIP Wednesday: Creme de Menthe
I finished the large design and shipped it off, woohoo! Although I still have a few commissioned accessories I’m working on, with the sweater load off my shoulders, I allowed myself to start a new design.
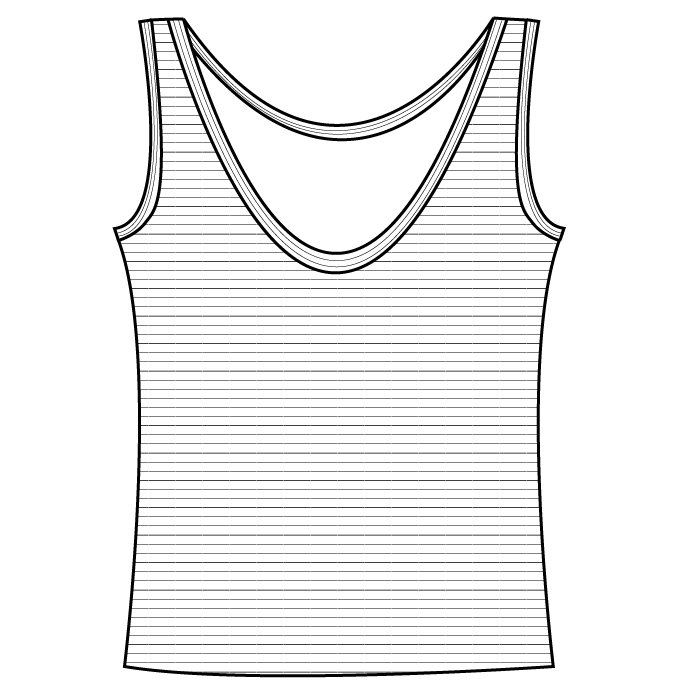 Here’s the sketch (which I did in about 10 minutes using Adobe Illustrator–I’m getting pretty good with that program, if I do say so myself). I really like the idea of a vest with skinny stripes running perpendicular to each other, so that’s what I’ll be attempting. It’ll either be cute or a mess… but that’s part of the fun of designing, right?
I’m using the Tosh DK Twist I showed off in last week’s post, and man is this stuff lovely. It’s as springy as Tosh Vintage, but lighter weight and softer. I’m an addict after only a few inches: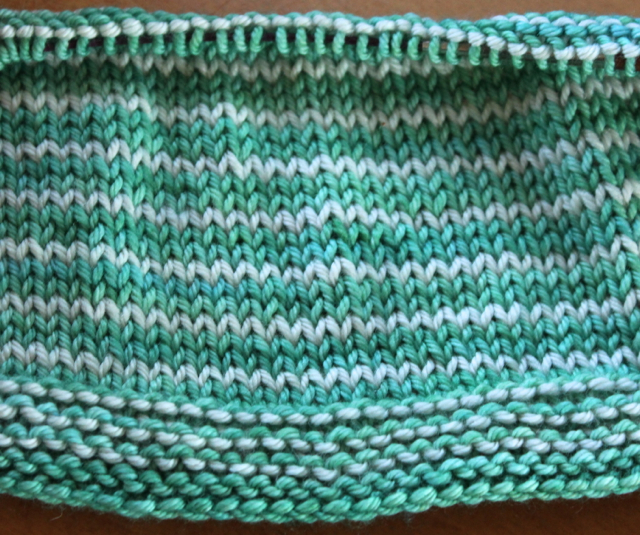 The tank is bottom up, in the round to the armholes and then back and forth. The 2-1 stripe pattern I’m using will necessitate pushing the work back and forth on the circular needles to keep the stripe pattern correct when it’s worked flat, but I tried it on a swatch and it’s actually kind of fun. You have to think about the fabric you’re making on each row, but that helps alleviate the boredom of endless stockinette. :-)
Also: I thought of a name for this design right away, which almost never happens. It shall be Creme de Menthe. Perfect, isn’t it?
Thanks to lightning-fast shipping from Knit Picks, I got my extra skein of Gloss DK this week and finished Concord, too!
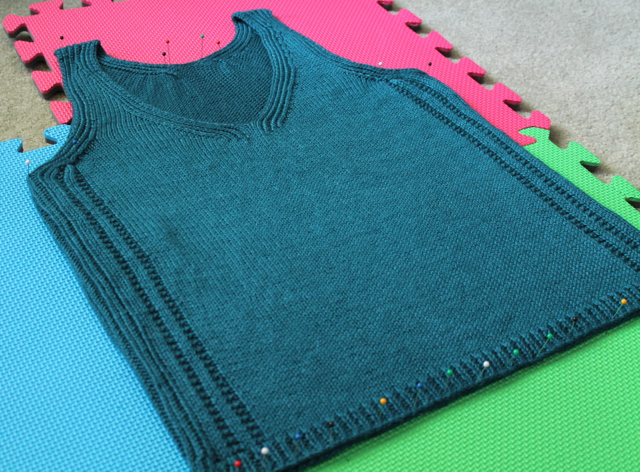 Hopefully I’ll have some modeled pics by Friday, and then the vest gets popped in the mail.


