Friday Roundup: Colorwork FO and Plenty of Cooking
Last week was just as busy day-job wise as the week before… but somehow I managed to get plenty of cooking and knitting done. Go figure, right?
What I’m Knitting:
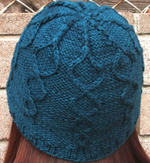
The adult version of my baby/child Transposed Hat is finished! We went out to the field around the corner from our house and spent a cold fifteen minutes getting some pictures with the baby strapped to the back of my husband. I think they turned out rather well, considering those circumstances:
 I’ll be releasing the pattern in the next few weeks, so expect more pictures soon!
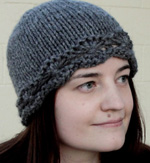
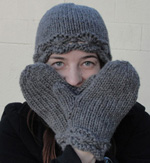
I’ve also finished that secret hat I was talking about last week, and guess what? The yarn isn’t secret anymore–Knit Picks just announced that their Preciosa merino single-ply is back. I’m knitting away on the matching mitts, so hopefully I’ll have a set to show off next Friday.
What I’m Cooking:
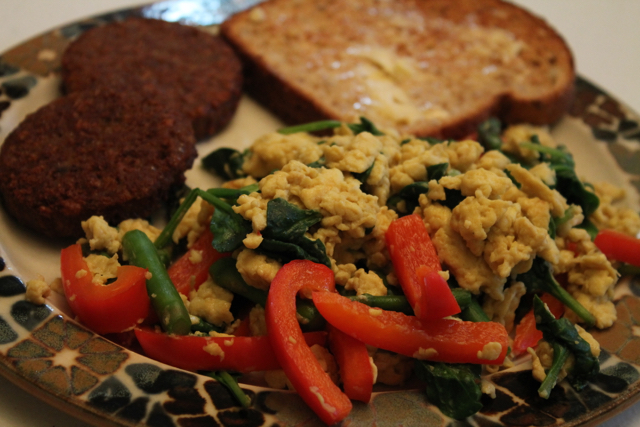
Like I said, plenty of action on the cooking front this week! First was a rare scramble made with actual eggs rather than tofu or some other analogue. Served with fake sausage patties and toast, it made excellent Sunday breakfast:
I only had about ten minutes to throw together this next meal, so I took a can of Amy’s Tom Kha Phak (Thai coconut soup), added veggies and some cornstarch to thicken it up, and served it over rice. It worked surprisingly well. I’m rather proud of this one.
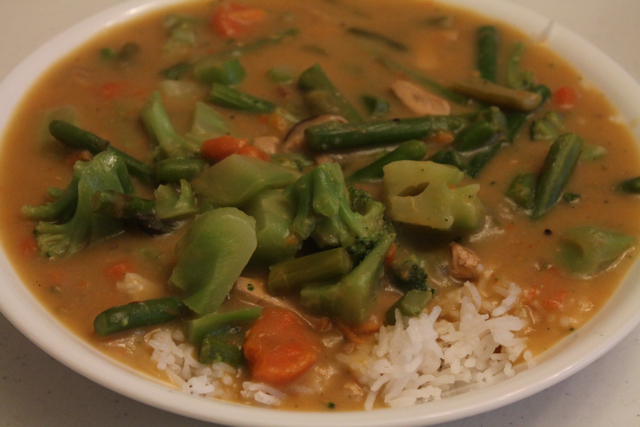
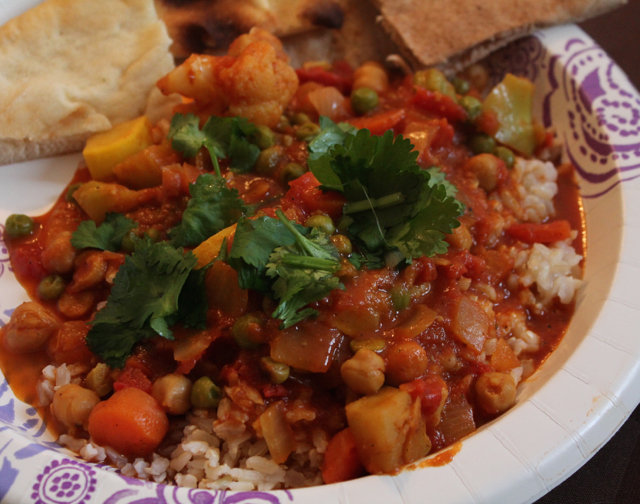
I was cooking for a crowd again on Wednesday (I do this most weeks), so I whipped up the coconut vegetable curry from Budget Bytes (adding chickpeas for additional protein). With some naan on the side to soak up the sauce, it’s soooo good.
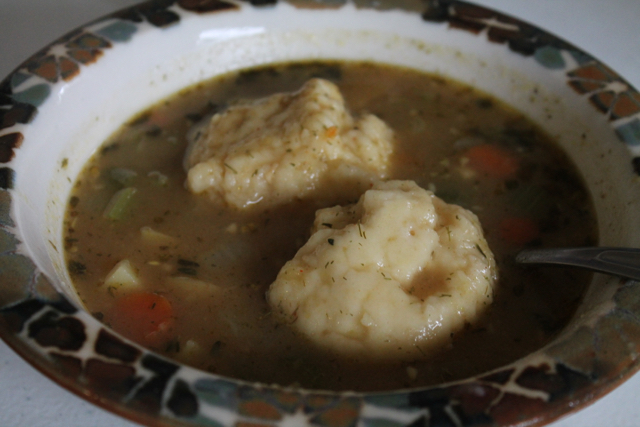
 And finally, continuing cold temperatures yesterday (boo) called for a large pot of stew with dumplings. I used fresh thyme instead of dried like I usually do. It made such a difference!
What I’m Reading:
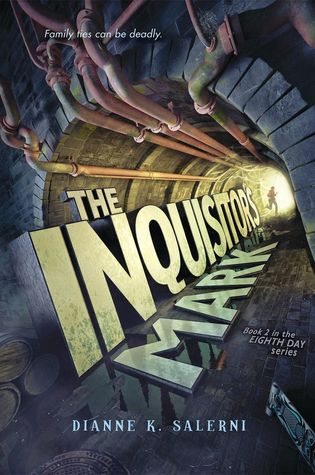
I’m a little ways into the second book in THE EIGHTH DAY series, THE INQUISITOR’S MARK. It’s just as good as the first one (which I loved) so far!
Blog Week Day 3: Experimental Photography 5KCBWDAY3
Experimental Photography And Image Handling For Bloggers: Refresh your skills at creating attention-grabbing pictures.
For today’s Blog Week topic, I decided to tackle some photo editing.
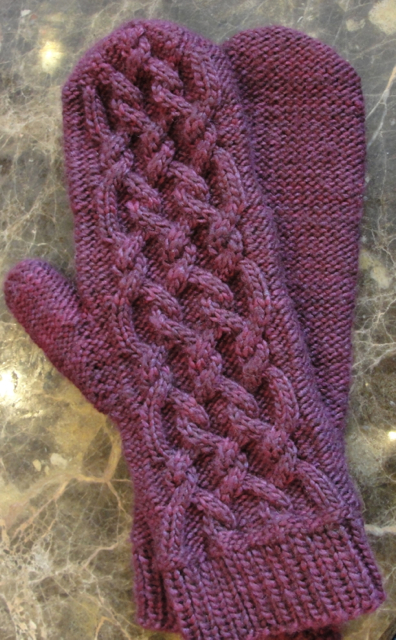
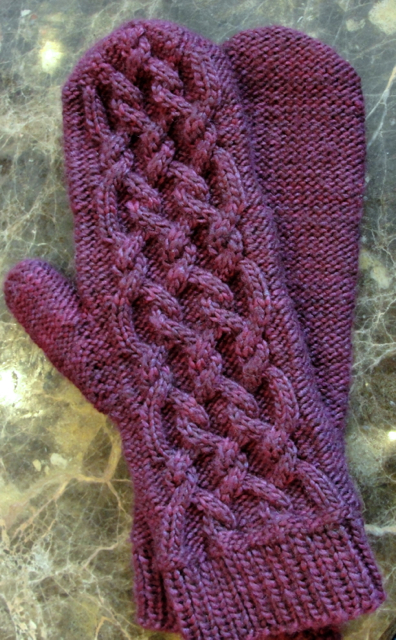
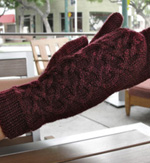
Below is one of the original, unedited pictures I took of my Morgandy Mittens pattern. I love, love, love the mittens, but I never really felt like the pictures showed them off to their best advantage.
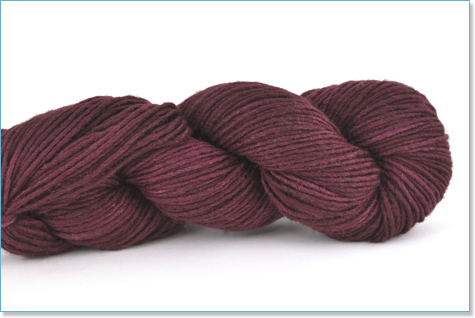
As you can see, the color of the mittens looks kind of washed out and flat, and the yellow table background is distracting. The actual yarn (Manos Silk Blend in Bing Cherry) is a luminous, multi-toned purple-red color. Not flat at all!
I went looking for an accurate depiction of it somewhere online and had a lot of trouble finding one. Looks like I’m not the only one whose camera has trouble with reds! This picture, from retailer Eat.Sleep.Knit., is the closest one I found:
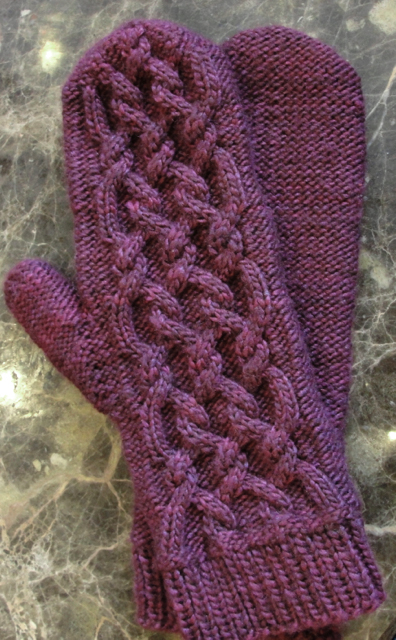
 First, I tried my quick and dirty method of photo editing: using the tools in iPhoto to tweak exposure, colors, and contrast. After a few minutes, it looked slightly better:
Also kind of fluorescent. Not the best look. So I imported the photo into Photoshop to try some more powerful tools. I’m not great with Photoshop, and I only know how to use about 5% of the things it can do, but sometimes I can get good results by messing around for a while to see what looks good.
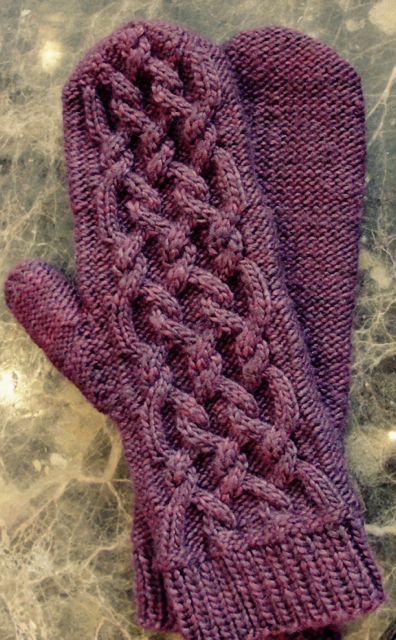
Here’s the result of tweaking levels and selective color on the original photo:
Maybe a little better… but still not great (although we’re getting closer to the actual color, so that’s good).
Now I decided to pull out the big guns. One of the best things I discovered a few years ago was Photoshop Actions. These are sequences of layers and filters that people put together to create certain effects and then put up online for free or sale. You click one button and everything gets applied to your original photo, and then you can adjust the layers to get the exact look you want. (I gushed about Actions in this blog post if you want to read more about them.)
Some of the actions I have obviously weren’t going to work for this picture (like the ones to bump up the reds), but I found several that I liked! All the actions below are from the Timecapsule Set by Nelly Nero.
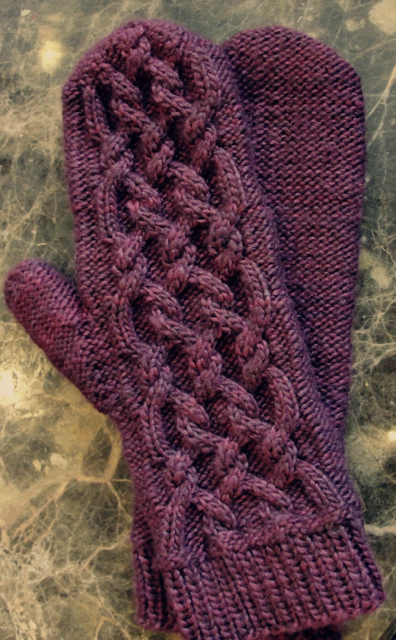
And my favorite of the bunch:
The colors are very close to the actual mittens and the yarn no longer looks flat and dull. Plus, I think the cables show up a lot better than they did in the original.
I’m calling this one a win!
Rhinebeck 2013 Wrap-Up
Rhinebeck was amazing this year. The weather was even better than last year (about 10 degrees cooler, which made it perfect sweater weather). I bought some great stuff, ate some excellent meals, and had a ton of fun.
My husband took a photography class with Gale Zucker (aka She Shoots Sheep Shots) and had a great time taking pictures all weekend. So he gets the credit for all these photos.
And, of course, I couldn’t have a Rhinebeck post without showing you my purchases, hehe.
First up, a huge skein of Dirty Water Dyeworks Johanna, which will probably become a vest or short-sleeved sweater:
 These six skeins of O-Wool Balance Bulky are going to become a cabled shawl/wrap:
 And finally, my husband picked out these two skeins of Green Mountain Spinnery Mountain Mohair, for gloves he’s going to knit himself:
 Not pictured: a Barbara Walker stitch treasury that I’ve had trouble finding in stores, maple cotton candy, a huge bag of local apples.
I think we did pretty well this year!
FO Friday: Creme de Menthe
I’m running my biggest promotion ever to celebrate my 30th birthday tomorrow: 50% off any self-published pattern in my Ravelry store with the coupon code 50for30. The sale goes through the end of the day tomorrow (US Eastern Time).
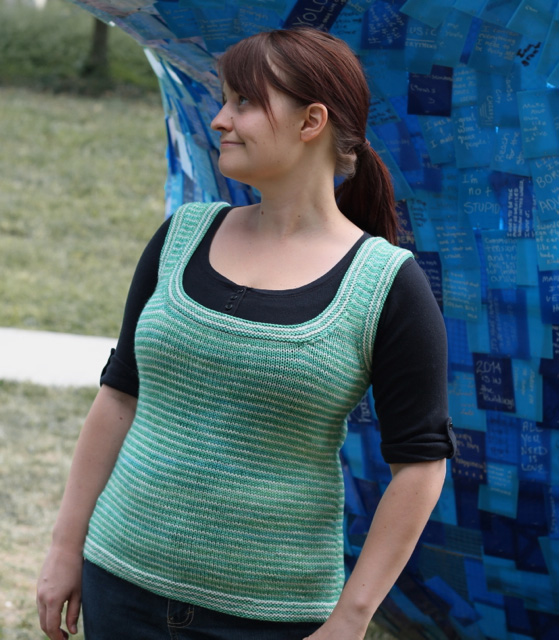
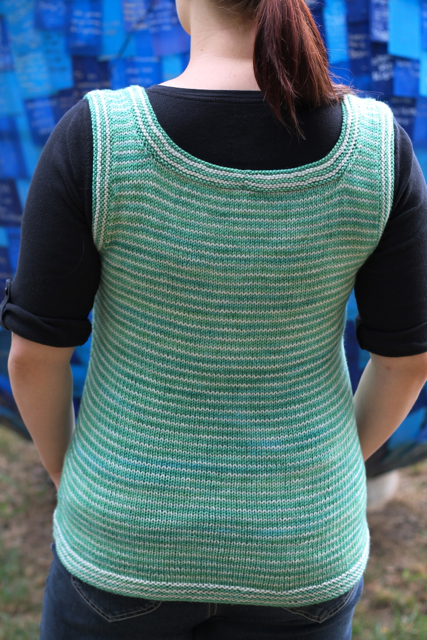
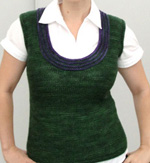
Official business out of the way, here’s the FO Friday post for my Madelinetosh Twist DK vest!
We had a blast with the photoshoot. I wanted a fun vibe, since the vest is a little more kooky than some of my pieces. I think it turned out pretty well!
The specs:
Pattern: My own Creme de Menthe pattern, which will be in testing in the next few weeks and probably released in… late September? Early October?
Yarn: Madelinetosh Twist DK, two skeins of Bluestem Willow and one of Farmhouse White. I can’t say enough good things about this yarn. Squishy, springy, delightful to knit with. It’s only available through the Madelinetosh shop, and I confess I’ve been stalking it a bit for a sweater quantity in a deep green or blue.
Notes: Gosh I love this vest! I decided up front to do 2:1 stripes through the body, which made things very interesting when it went from knitting in the round to flat. But that was perfect–after all that stockinette, the interest of having to read the knitting and push the work from one side of the needle to the other added just the right amount of interest.
I’m writing the pattern with two different sections for that part: first, there will be a little summary for those who have some experience or feel comfortable checking it themselves. Second, there will be a table with row-by-row instructions for those who need a little more hand-holding. This is a new format for me, so I’m interested to see how my testers like it!
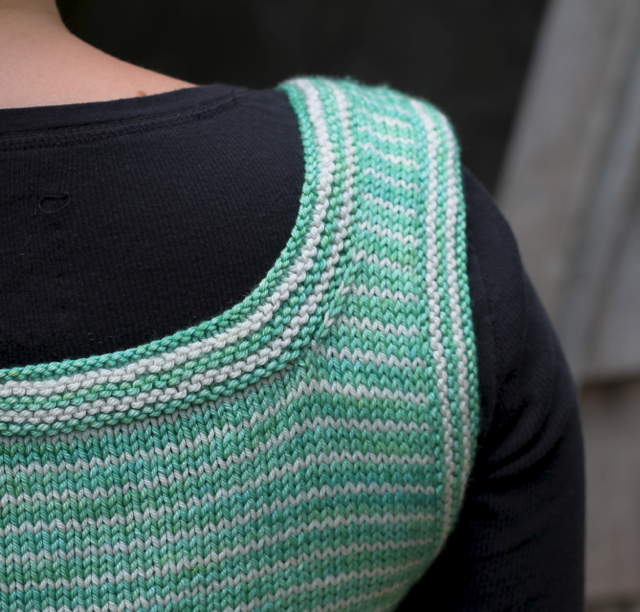
The planned stripe effect on the shoulders turned out great, if I do say so myself:
Day 5, Something Different: 4KCBWDAY5
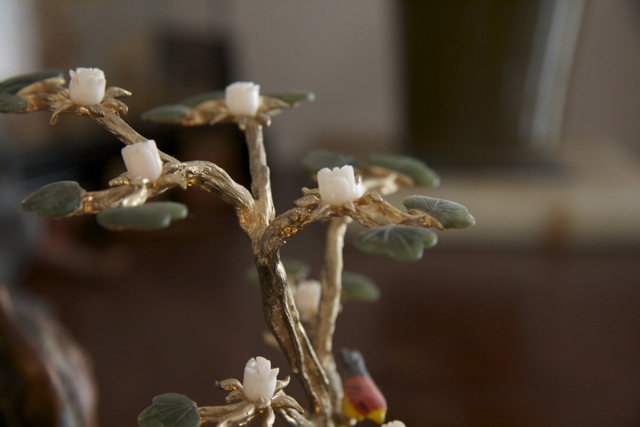
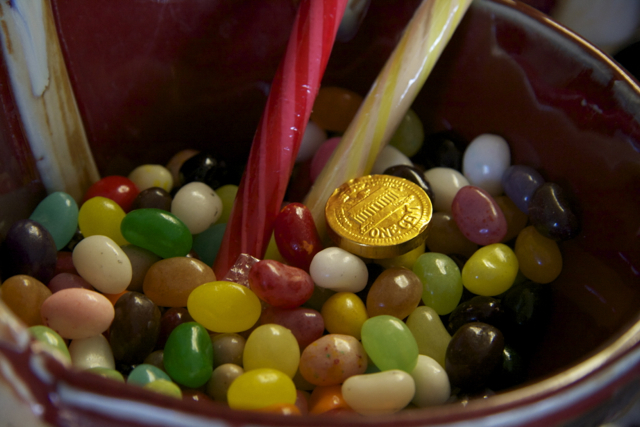
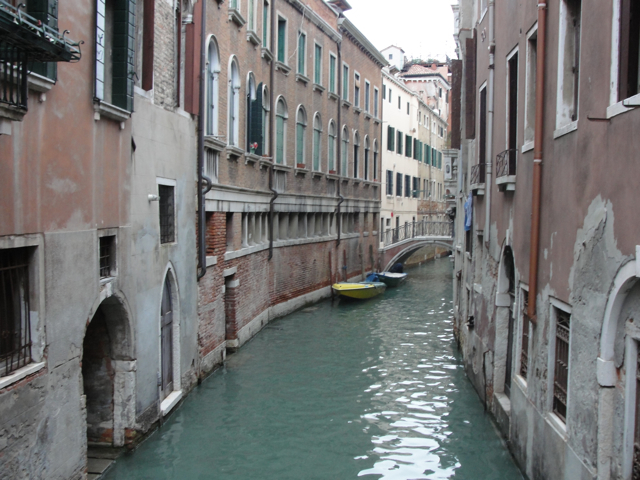
 For today’s prompt (something different from your usual style of blogging), I decided to show you some of the non-yarny pictures I’ve taken that live in my inspiration file. Time will tell if any of these elements ever make it into one of my designs!
(Some of these photos were taken on trips–see if you can spot scenes from Venice, Florence, and San Francisco! Er… but no points for Venice. That one’s easy.)
FO Friday: Blue Betty!
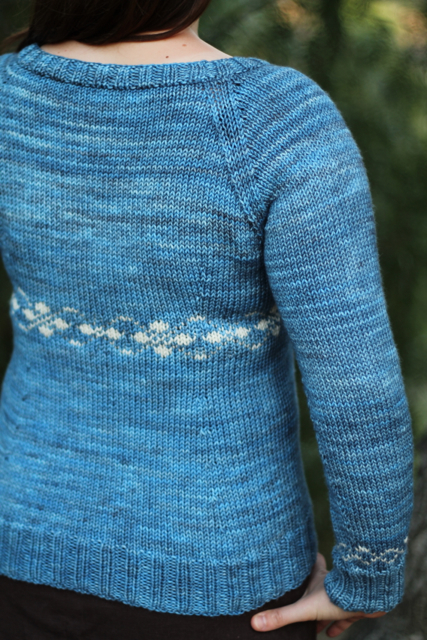
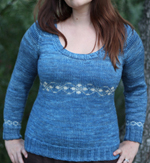
The blue Tosh sweater is finished, blocked, and photographed!
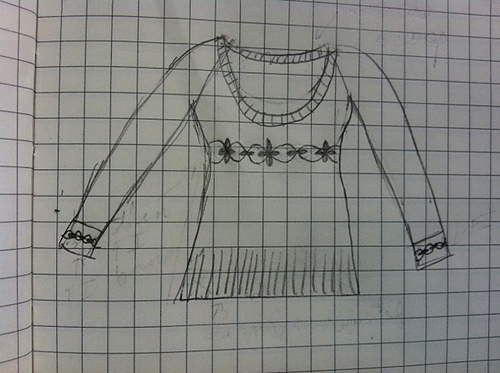
I’m so, so happy with the way this design turned out. My intention was to design a colorwork sweater that would be flattering to larger-busted gals. Here’s my original sketch:
I did add ribbing on the sleeve cuffs. My first idea was to do a turned hem, but I don’t think it would have looked right with the ribbing at the bottom and the neck. Other than that, the sweater’s pretty much the same as I envisioned!
Hubby and I went out to a local park and strapped the 50mm/f 1.8 lens to our Canon Rebel T3. I cannot begin to express my love for this camera and this lens. Practically every shot pops right off the screen. And after hours of manually blurring backgrounds in Photoshop on the pictures from our point-and-shoot, having pics that don’t need anything more than a little cropping is spectacular.
The Tosh just glows, doesn’t it?
Here are the specs on the FO:
Pattern: my own, tentatively called Blue Betty. I’m hoping to get it into the hands of test-knitters next week and release the pattern in a month or two.
Needles: 32-inch circs in US #6 and #7, plus DPNs in both sizes. Loving my Knit Picks Harmony DPNs–they really make sleeves in the round more enjoyable.
Yarn: madelinetosh tosh vintage in Betty Draper’s Blues (about 4 and a half skeins) and Antler (about 1/4 skein).YUM. Tosh vintage remains up there on my all-time-favorite yarn lists.
Two of my skeins were much darker than the others, which unfortunately didn’t show up until I wound them into balls. I alternated skeins on the sleeves and yoke to address this, and I think it worked out okay. There’s a little bit of striping, but nothing I can’t live with. You can see it on the upper back in this pic:
Notes: I love the fit of this sweater. I tried back shaping only instead of my usual side shaping, and I’m totally sold. My back is much narrower than my front, so this sweater fits me better than any others I’ve knit. The colorwork band pulls in right under the bust and adds an almost empire waistline effect.
Now on to writing up the pattern! Also fun, but not as fun as knitting (and wearing) the sweater…
Foldable/Collapsible Lightbox Tutorial
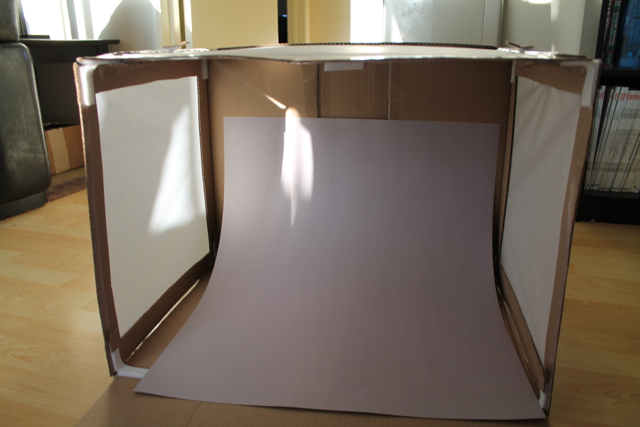
As promised, here are the instructions for the collapsible lightbox! Disclaimer: my wonderful husband put the thing together, I just took all the pictures.
Please note that this takes a while to put together. Give yourself at least three or four hours.
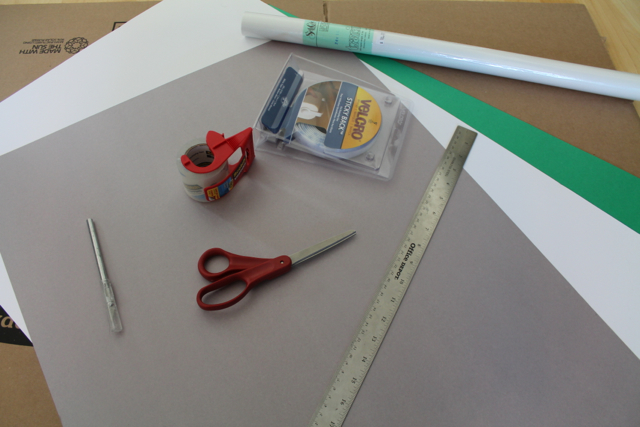
Step 1: Assemble the following materials:
-Large cardboard box (this one is 24x18x18)
-Roll of tracing paper
-Roll of double-sided Velcro tape
-Clear packing tape
-utility knife/box cutter
-Scissors
-Ruler
-Pencil
-A large white piece of stiff paper, at least as wide as your box
-(optional) Additional pieces of stiff paper in other colors, if you’d like to have a few different backdrops
We got everything from an artists’ supply store except the box, which we got from the local hardware store. Total cost for everything was about $30.
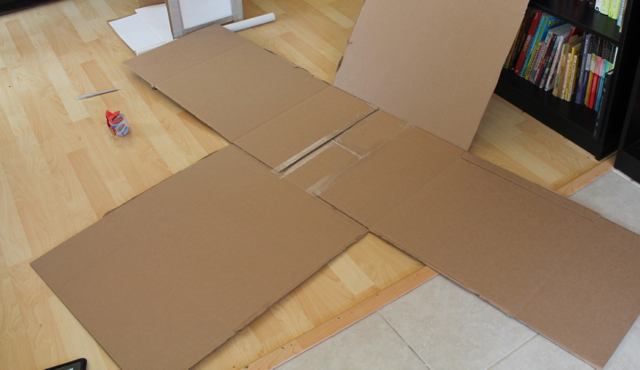
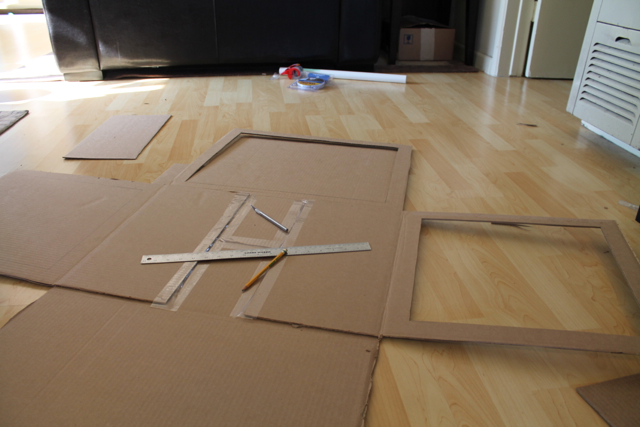
Step 2: If your box isn’t pre-assembled, tape down the bottom flaps. Using the utility knife, cut the box open along the sides.
Step 3: Measure one and a half to two inches from the edge on three of the panels and mark rectangles with the pencil and ruler. Using the utility knife again, cut out the panels (it’s a good idea to put something underneath so you don’t cut into the floor).
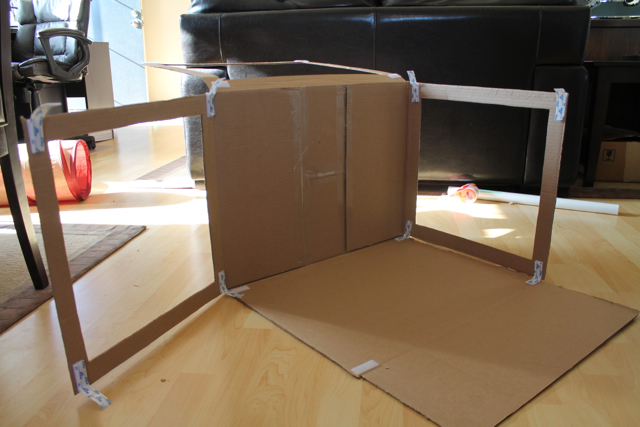
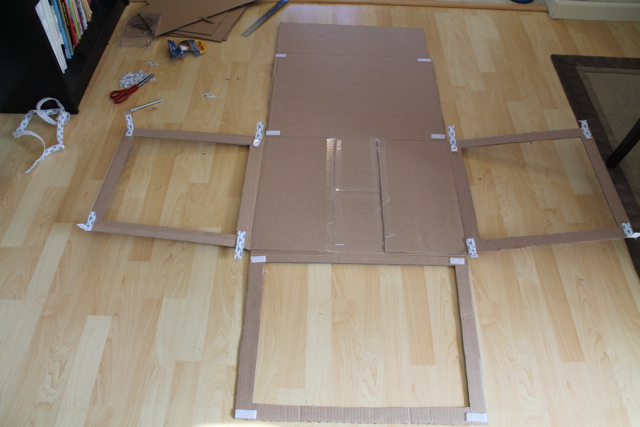
Step 4: Cut short strips of Velcro tape and affix to the corners of each panel so the sides are held together.
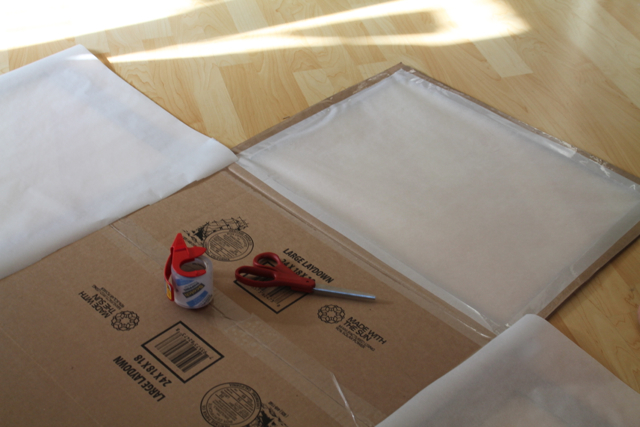
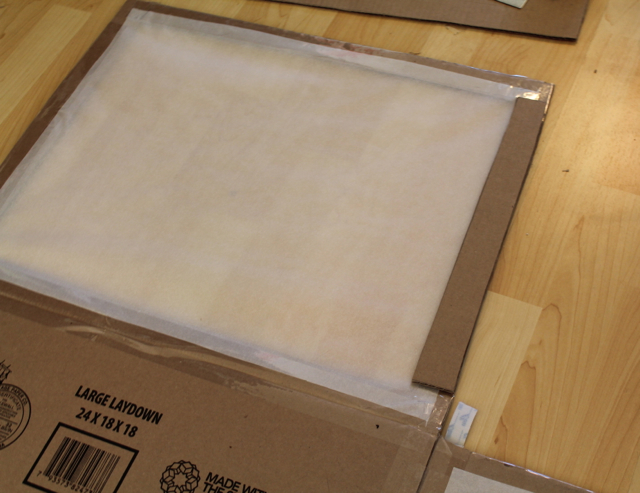
Step 5: Cut pieces of tracing paper to fit over the cutouts in the panels. Trim tracing paper to size and use packing tape to secure.
Step 6: At this point, we determined that the sides were a bit floppy because our box wasn’t the sturdiest one around. If you have this problem, you can do what we did: cut narrow support pieces out of waste cardboard and tape in place.
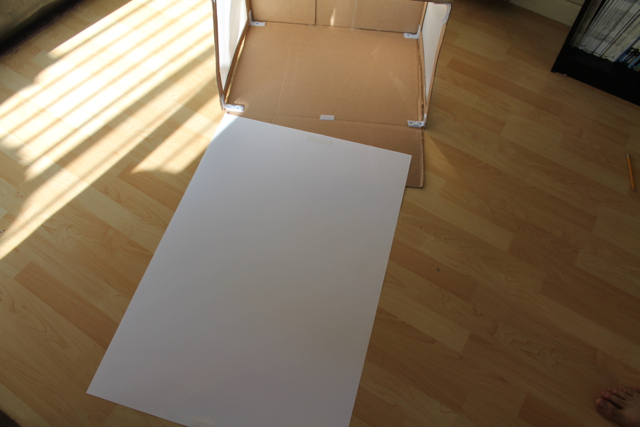
Step 7: Cut the heavy white piece of paper so it just fits the width of the box. Cut to desired length and affix pieces of Velcro tape to the paper and to the inside of the box to hold the backdrop in place. Repeat with any other backdrops, making sure they fit properly inside the box.
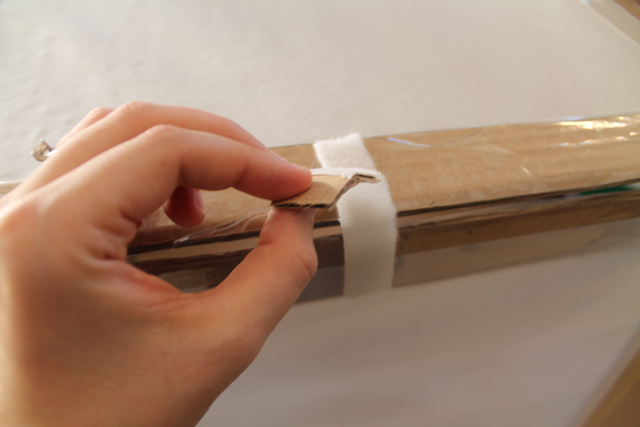
Step 8: (optional) If you find it difficult to pull the Velcro tabs apart quickly (we did), cut small bits of cardboard to use as pull tabs and tape in place. You can also put small pieces of tracing paper over the back of the Velcro strips, although this is mostly just for aesthetic value.
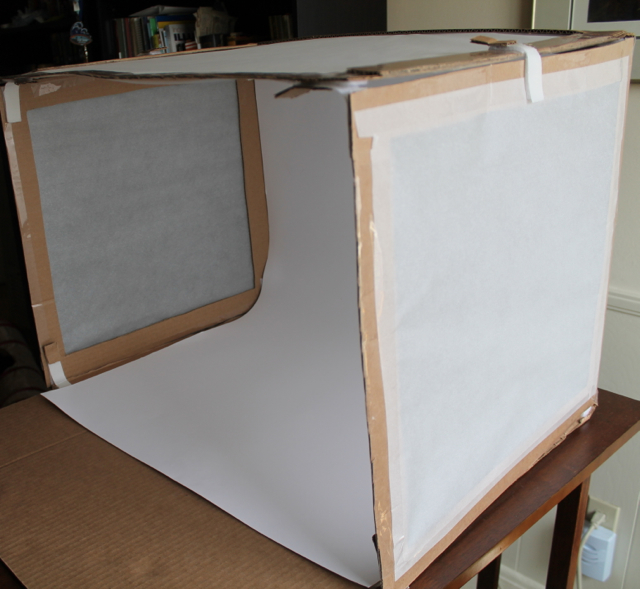
The lightbox is now completed!
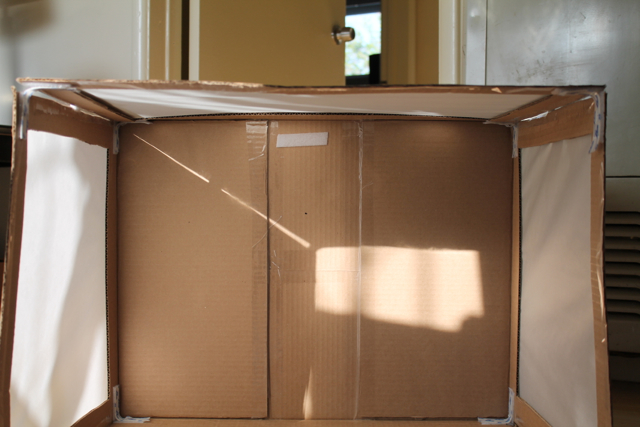
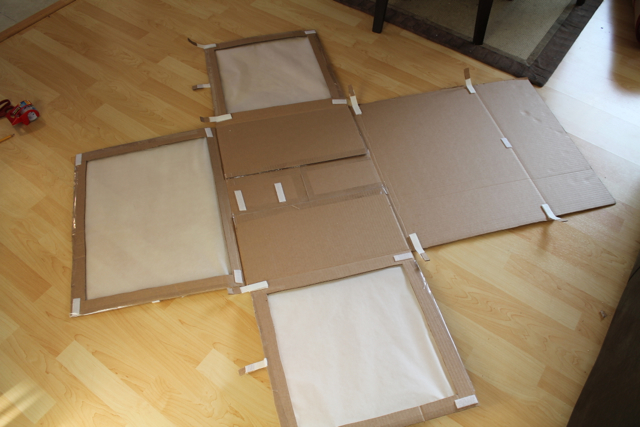
We determined the best way to fold it up was to fold the side panels in, then fold the bottom up over it, leaving the top flat. It still takes up some room, but it’s easy to stick the flat box in the back of a closet.
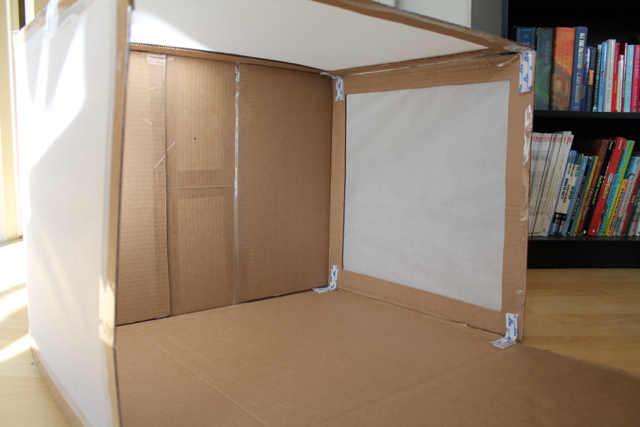
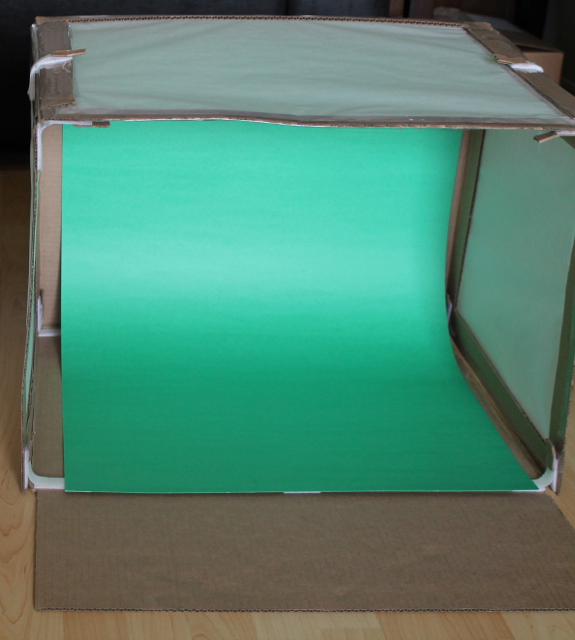
Lights can be set up so they shine through the tracing paper and give nice, even lighting to your subject. Here are a few shots of the box in action:
If you make a box using this tutorial, I’d love to hear how it goes!
FO Friday: Collapsible Lightbox
No knitting FOs to show off today (the green sweater’s coming along, but it still needs another sleeve). I have something else that’s almost as good, though–the husband made me a collapsible lightbox!
I had been using one that he made a while back which worked (all the yarn photos I’ve posted here were taken in it), but suffered from one fatal flaw: it was really too small for my purposes.
I ended up with a lot of shots like this that needed to be cropped down (swatch is of my Kari Baby Blanket):
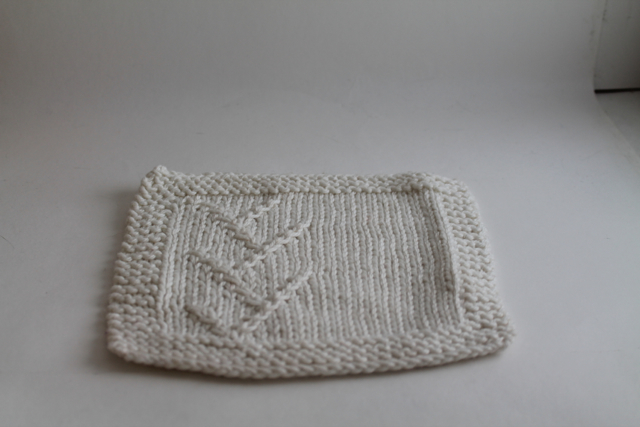
Also, shots of white yarn tended to get washed out pretty severely (swatch of my Bevin Pullover):
We had trouble storing the box in our little apartment, too. We ended up having to devote a whole shelf to it in our linen closet. So when hubby offered to make me a bigger, collapsible lightbox, I jumped at the chance.
Not only does the new one use a clever placement of Velcro tabs to fold down so it can be stored at the back of a closet, but it has removable, different-colored backdrops!
Now I can get shots of white yarn that look like this:
Much better, no? And I have SO much more room to take shots. It’s awesome.
Here’s a side-by-side comparison of the old and the new lightboxes:
I took lots of pictures as hubby was making the box, so I’ll be posting a photo tutorial here in the next few days for anyone who’s interested in making their own. Stay tuned!
Star Wars Baby Shower
Warning: picture-heavy post ahead! (It has a little to do with knitting, I promise. Hang in there.)
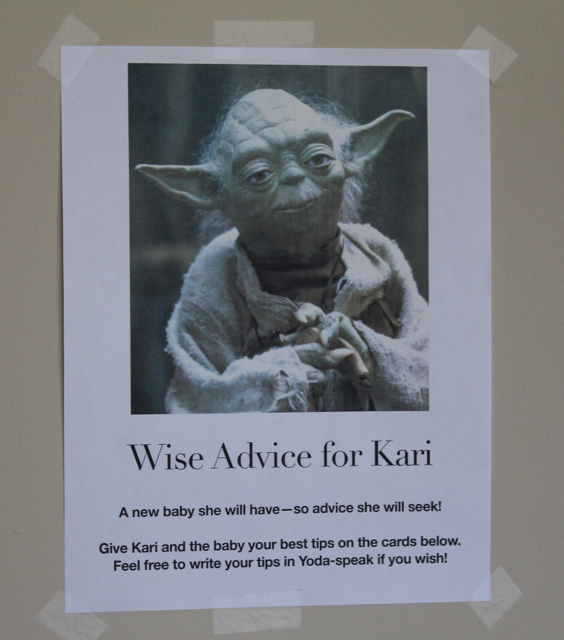
I threw a baby shower for my best friend yesterday. She’s a Star Wars mega-fan from way back, so we came up with the idea of having a Star Wars theme! I couldn’t resist the opportunity to put my new camera of awesomeness to good use.
I made Yoda Soda by mixing lemon-lime soda with lime sherbet:
The favors were lightsabers (pretzel rods dipped in melted candy coating and sprinkles):
The gorgeous mama-to-be:
We played games, decorated onesies, and watched her open presents:
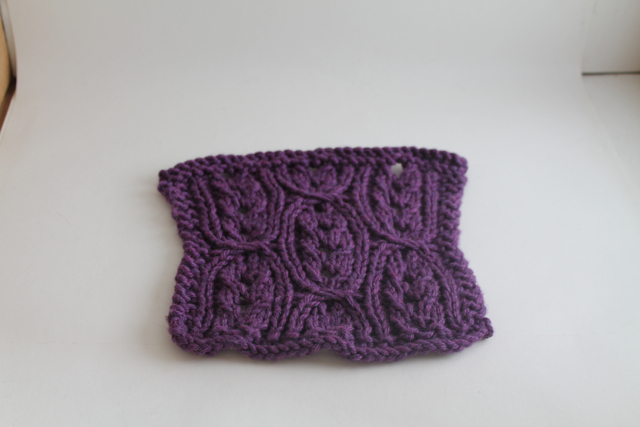
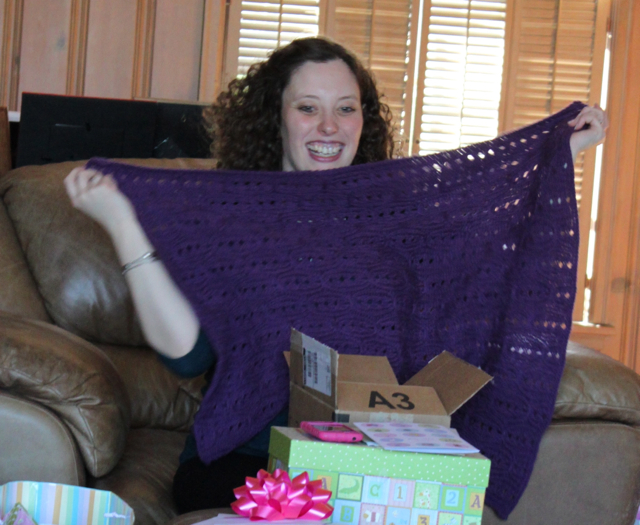
Recognize this? It went over really well with everyone! All of the non-knitters were impressed that both sides looked good, which I thought was pretty awesome :-)
The shower took a lot of planning, but everyone seemed to have a great time. The mama-to-be was very happy. So it was all worth it :-)
Stash Acquisitions, TML edition
I was trying to be good, but the space in my new yarn cabinet was crying out to me.
Little Knits, one of my favorite online retailers, had Tosh Merino Light grab bags up last week (it looks like they’re sold out now, unfortunately). 30% off 5 skeins–I got to choose the general color theme, but they chose the skeins.
This appealed to me on so many levels. Cheaper Madelinetosh! Beautiful skeins I’d only seen online! The mystery of wondering which ones I’d get! The neutral grab bag was the only one left in stock when I went to order, so I snapped it up.

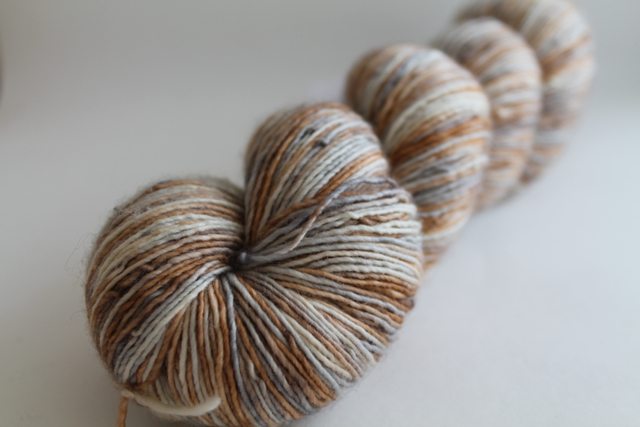
Faded Chinos – my fave of the bunch. Even though it looks nothing like faded chinos to me… more like golden wheat or something.
I LOVE three of the skeins I got: Faded Chinos and Victorian Gothic above, and Badlands:
The fourth skein I got is gorgeous, but just not my colors:
I posted that one for trade on the Madelinetosh Ravelry group and got a response really quickly–so I’m swapping it for a skein of TML in Tart. I’ve heard so many rave reviews of that color but have never seen it in person–now I get to try it!
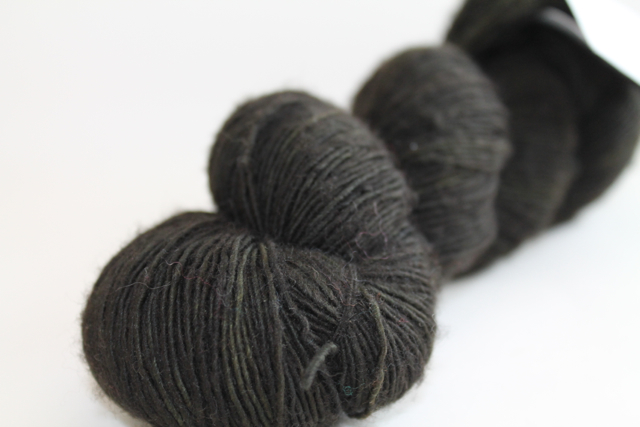
I’m still trying to trade the last skein, if anyone’s interested. It’s Terra Verte, dark version, and man is it dark–the skein looks black unless you view it in the right light, and then tiny bits of olive green are visible. The pictures below are pretty accurate (thank you Madelinetosh-loving new camera!):
Overall, I’m really pleased with my purchase. I knew I might want to trade some of the skeins away, and thanks to the magic that is Ravelry, that process is fairly painless.
Aaaannndd…. I just noticed Little Knits has Tosh Sock grab bags up. Must… resist… siren call of Tosh….

