
Design Process Part 2: Sketching, Swatching, and Math
Earlier posts in this series: Design Process Part 1: Inspiration
Now that I have a pretty good idea of the general look and construction I want for the sweater, it’s time to think about the details. First up, I do a rough sketch of the design.
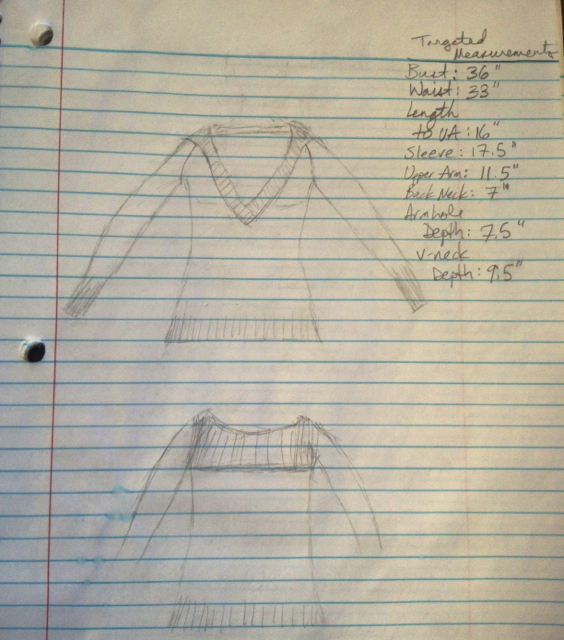 Ahem. I did warn you it was rough. I’m not much of an artist, so if the sketch isn’t for submission to a publication, I don’t spend much time on it. But it gets the idea across!
I also included the targeted measurements for my size. Before, I would need to look up standard guidelines for this bust size, but I’ve knit enough size M fitted sweaters now that I know most of these measurements off the top of my head. A few of them are specifically tailored to my preferences–I like a little bit of positive ease on the upper arm, for example, but I tend to like an inch or two of negative ease at the bust. I also tend to like slightly longer sweaters (probably because a large bust tends to make shorter sweaters ride up at the bottom!).
Next up, choosing yarn! Fun!
It was pretty easy in this case. I have this gorgeousness in my stash:
 This is Blue Moon Fiber Arts BFL Sport in the “Manly, yes, but I like it too!” colorway (great name, eh?). I purchased two giant skeins (about 1300 yds) at Rhinebeck last October. After checking Ravelry, this looks like plenty to knit this type of sweater in a 36″ bust size. The great thing about top-down, too, is I know I have the option of knitting shorter sleeves or a shorter body if it looks like I’m running low on yarn.
Swatch time! As I mentioned in this post, the recommended size on the label for this yarn is incorrect. After a quick check on the yarn’s Ravelry page, I started with US #4 (3.5 mm), and I liked the fabric I got after I wet-blocked the swatch:
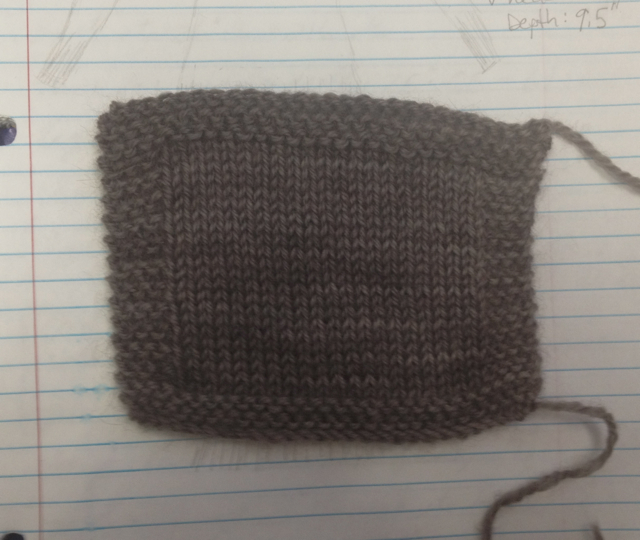
Pardon the craptacular phone picture.
My measured gauge after blocking is 6 sts/8.5 rows to the inch. A little thinner than I usually prefer (I’m generally a DK and up girl), but the yarn’s soft and nice to knit with. Due to some kind of distracting life stuff going on right now, a stockinette, finer gauge sweater is just what the doctor ordered!
If I were knitting a bottom-up sweater, this is the point where I’d usually do some quick, rough calculations and then dive right into the knitting.
BUT… this is going to be a top-down sweater. So that means I have to do a whole bunch of math before I know how many stitches to cast on.
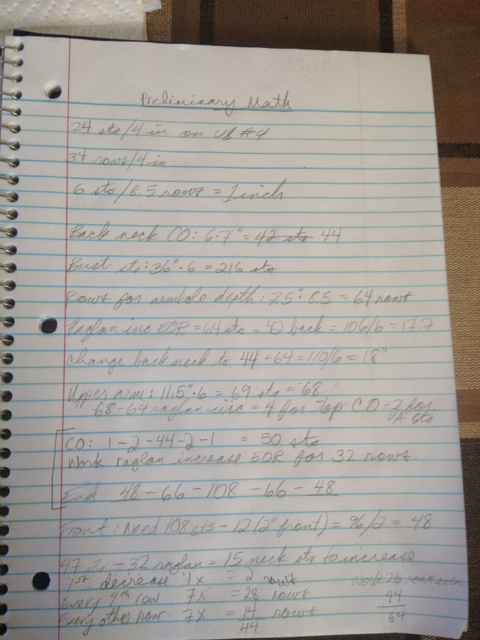 Yeah, that wasn’t too much fun. It took me two whole episodes of Supernatural!
Some designers prefer to grade the pattern for all the sizes before they start knitting the sample in their size. I confess, I’m not one of those. I work out the numbers for my size, tweaking them as I go, and then grade the pattern for the rest of the sizes when I’m finished with the prototype.
Next up: casting on! Woohoo!
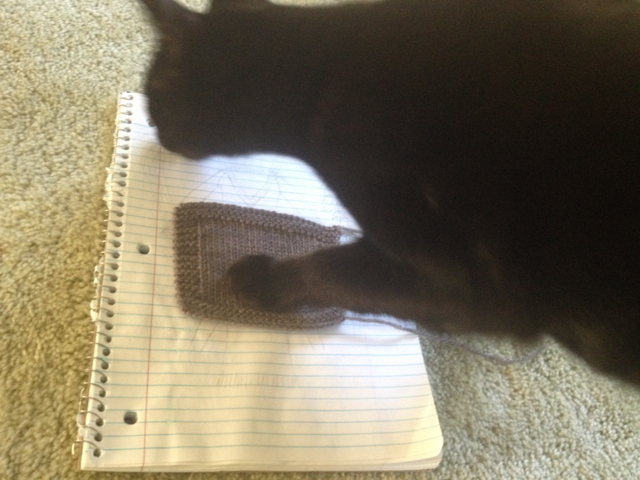
Bonus picture: one of the kitties “helping” me photograph the swatch.


I’m going to really enjoy this series – living vicariously and all that :)
[…] posts in this series: Design Process Part 2: Sketching, Swatching and Math ~ Design Process Part 1: […]
[…] my series of design posts. Earlier posts are here: Part Six, Part Five, Part Four, Part Three, Part Two, Part […]