WIP Wednesday: Dream Sweater
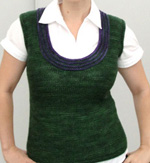
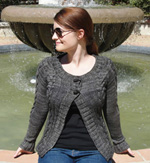
I finally got a chance to get started on my new sweater design! (See this post for details.)
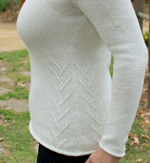
I am completely in love with this project. The Tosh TML is amazing to knit and to look at, and the pattern has just the right amount of juggling to keep me interested (the twisted rib on the back, raglan increases, and neck increases).
We’ll see if I still love it later….
New design brewing…
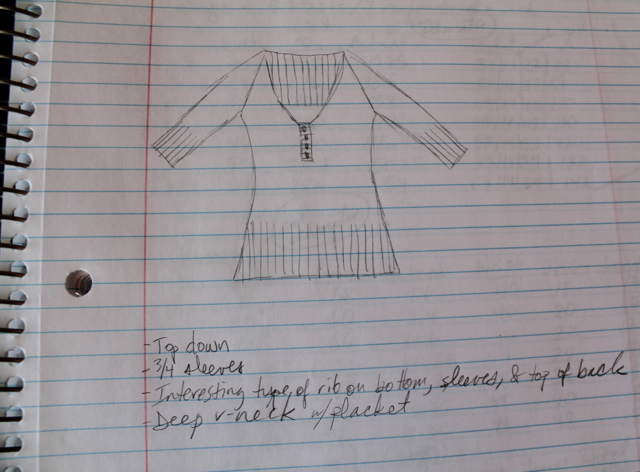
I’m already thinking hard about how to use my beautiful Tosh Merino Light from the last post…
…and after some sketching and swatching, I think I have a winner!
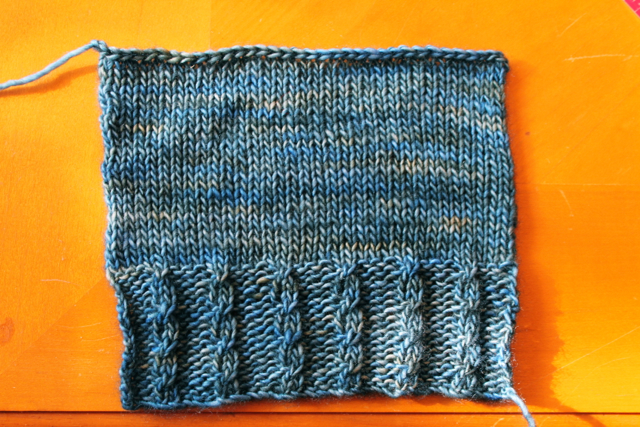
I went back and forth on the “interesting rib” I wanted to do… and finally decided on this nice mock-cable rib:
I love mock cables. They’re easy to do, require no cable needle, and look just as pretty as “real” cables.
So now that all that’s decided… I’m waiting until September 22nd to cast on. Sigh. I want to participate in a knit-along with the members of the Madelinetosh Lovers group on Ravelry, and that’s the official start date.
Until then, I have a sweater pattern to finalize and some winter accessory swatching to do. That sounds like fun too, don’t get me wrong… but I can’t wait to get my hands on the Tosh!
FO Friday: Knit Your Own Adventure Hats!
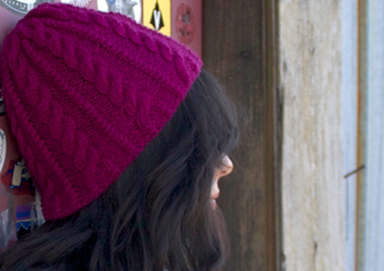
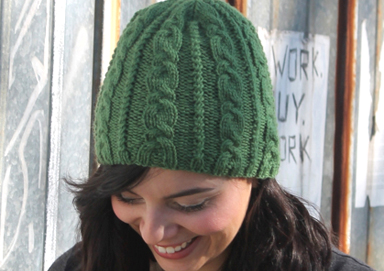
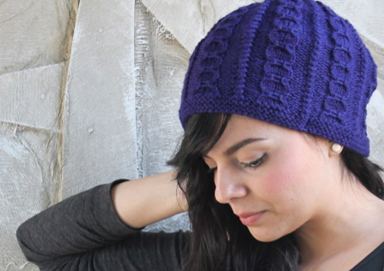
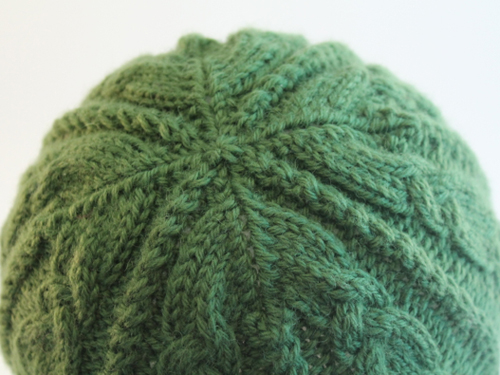
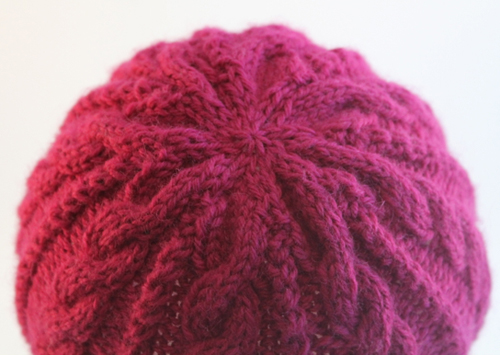
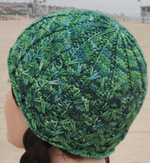
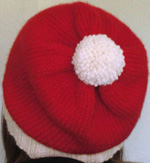
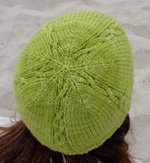
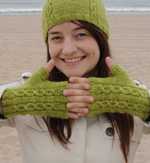
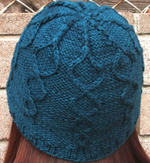
I have a new pattern release and three FOs to show off today: my Knit Your Own Adventure Hats!
Here are the specs:
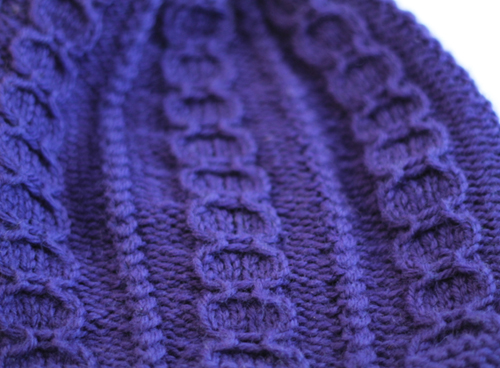
Pattern: my own pattern, Knit Your Own Adventure Hats (Ravelry link, since I haven’t put the pattern page up on this website yet–bad Triona!). All three hats were knit from the same pattern. It includes 3 edgings, 3 cable patterns, and 3 crown decreases, all mix-and-matchable.
Side note: did anyone else love the Choose Your Own Adventure books when they were younger? I used to use scraps of paper to mark all the places where I’d have to make choices so I could go back if I didn’t like the outcome.
Yarn: Wool of the Andes worsted weight in Fairy Tale, Jalapeño, and Hyacinth. I used about 1.5 skeins per hat (around 160 yds). This is a really nice yarn: it’s definitely in the workhorse category, but it’s not itchy and comes in great colors. It’s very reminiscent of Cascade 220, one of my favorites.
Notes: These are pretty awesome hats, if I do say so myself. They’re long enough to cover the ears (a major requirement for me when cold weather rolls around). The purple one is finished with a slouchy crown, so now I can choose whether I want one of the warmer beanies or the hipper, less warm hat.
And isn’t my model adorable? She’s my friend Cheryl, who apparently cannot look bad in a picture. I had tons of good ones to choose from after this photo shoot.
I had fun taking glamour shots of the hat components in my lightbox for the pattern, too. The crown ones were stretched over a balloon, which worked surprisingly well!
Numma numma panna (fun to say, try it!)
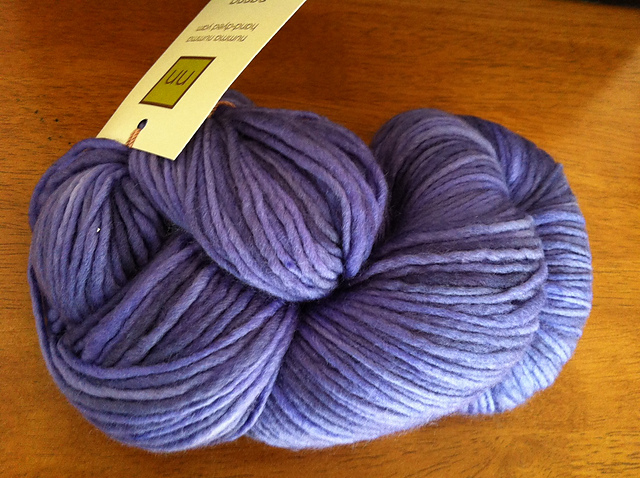
I won a contest in one of my Ravelry groups and received my prize a few days ago: a gorgeous skein of yarn!
This is panna worsted weight by numma numma (which is really fun to say, try it!). It is SO SQUISHY. I can’t properly express in words how wonderfully squishy it is. It’s like Malabrigo Worsted, but MORE SO. And I don’t say that lightly, people.
So obviously this needs to be a mega-special design, one that’s worn right next to the skin. I’m thinking mittens, maybe? Not sure I can get two mittens out of 200 yds of worsted, though. Fingerless mittens? A cute beanie?
Any ideas?
FO Friday (and new pattern): Rosanna Wrap!
It’s so nice to have a plethora of projects that I’m allowed to show off!
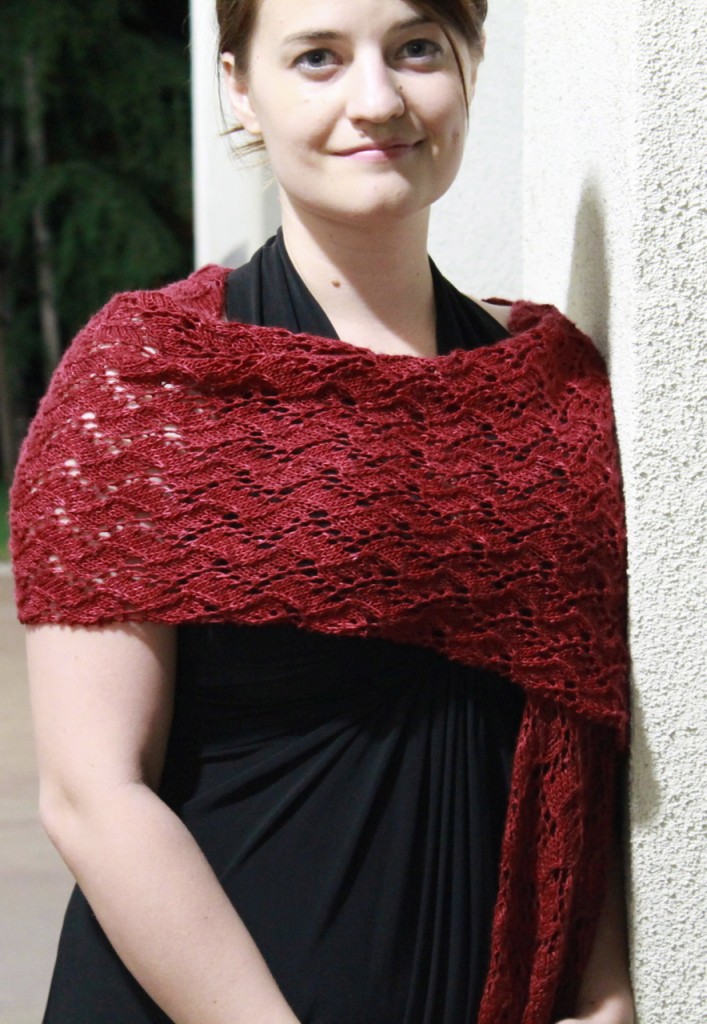
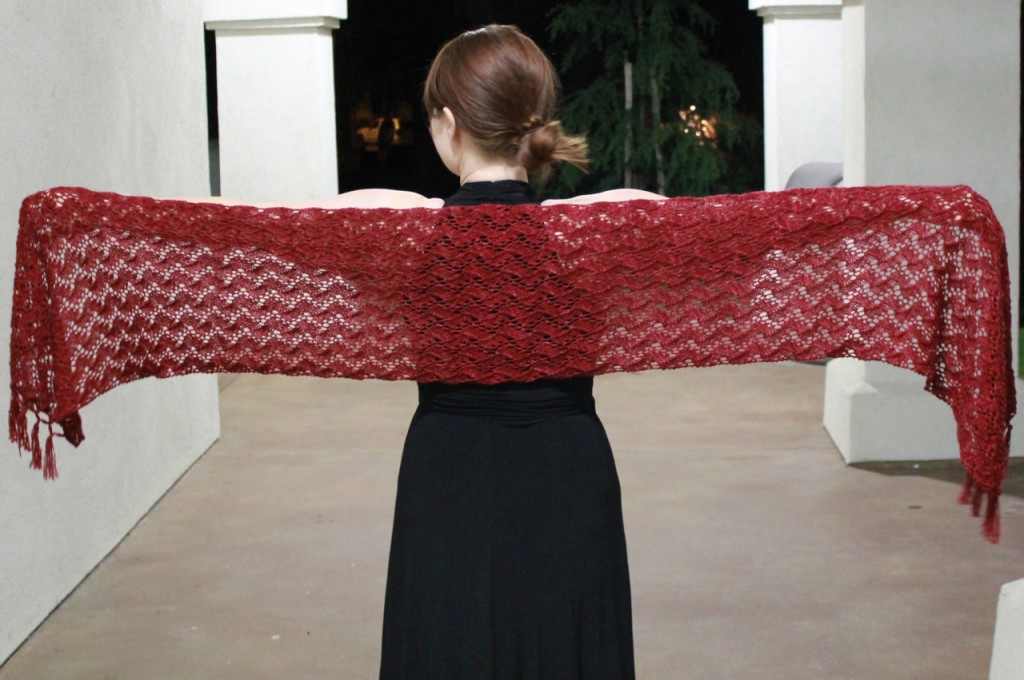
This is my newest design, Rosanna Wrap:
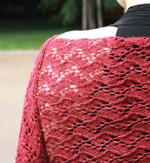
I picture this wrap being perfect for dressy nights out in the summer–it looks fab with a little black dress. And it’s long (75″), so there’s enough fabric to actually keep one warm.
Blocking the finished wrap was a bit of an adventure. I wanted a nice straight edge (obviously), but I don’t own blocking wires (haven’t ever needed them before) and had only about 50 pins. First, I went out and bought a couple more packs of pins. Then I used a method I found on Ravelry: I ran cotton yarn along each edge, pulled tight, and then braced the cotton with pins so the lace was pulled tight and able to open up.
It worked rather well, if I do say so myself–but slowly weaving in the cotton yarn and putting in a few hundred pins isn’t an experience I care to repeat very often!
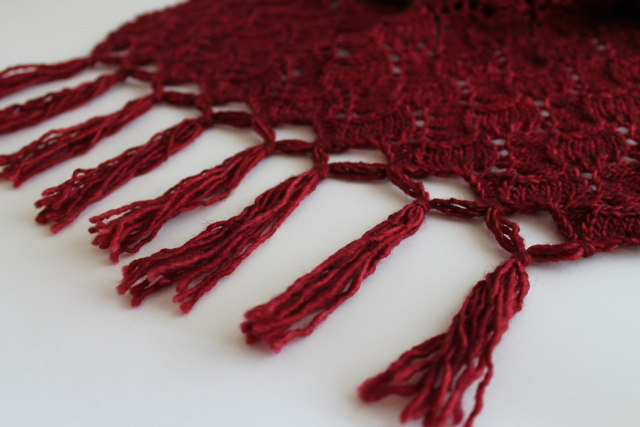
I also decided to up the dressy-factor by adding a knotted fringe. I had to look up tutorials on how to do this and I figured others might have to as well… so I included my own photo tutorial in the pattern.
Here are the specs on my FO:
Pattern: my own Rosanna Wrap, available to purchase on this website or through Ravelry here.
Yarn: madelinetosh tosh merino light, 2 skeins in Tart. I blogged here about my worry that my two skeins (purchased at different times) were too different from each other… but oddly enough, that appears to have been completely addressed by blocking. The dye ran pretty severely when I soaked the FO–I had to empty the sink and add fresh water five or six times before it was clear. The excess dye seems to have evened out the difference in the colors, which is so lucky I can hardly believe it. But the proof is in the pictures!
New pattern: Check Slouch!
Knitscene Accessories 2012 is now available for digital download and pre-order–and one of my patterns is in it!
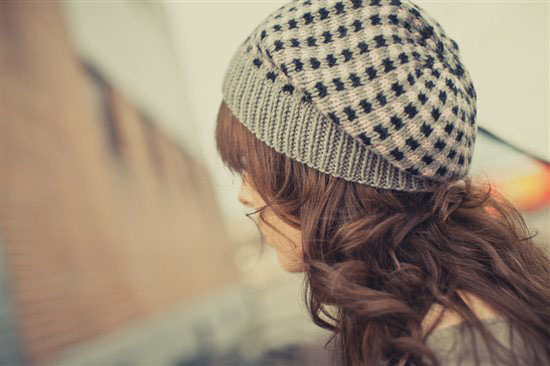
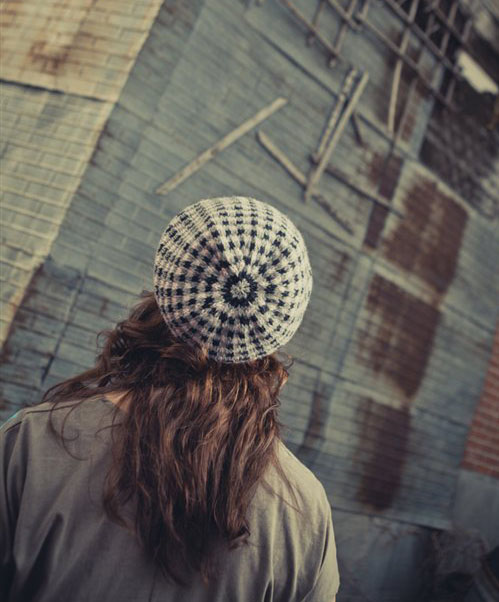
This is Check Slouch, my first magazine pattern:
I am beyond thrilled with the amazing photography and styling. (And I wish I had that model’s hair!)
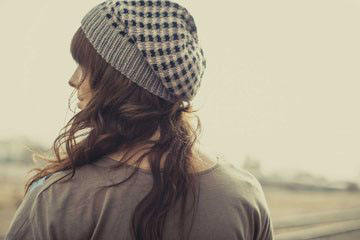
The hat is knit in the round from the bottom up and uses a super-easy slip stitch pattern to form the checks. There’s only ever one color being used per round, which makes it suitable for colorwork newbies.
The physical magazine will be hitting newsstands at the beginning of June–I can’t wait!
FO Friday: Blue Betty!
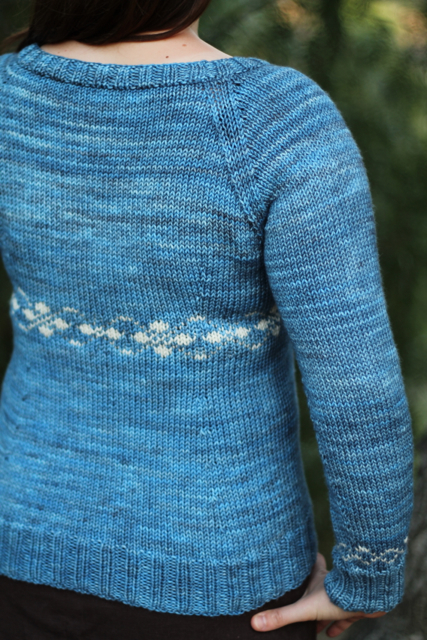
The blue Tosh sweater is finished, blocked, and photographed!
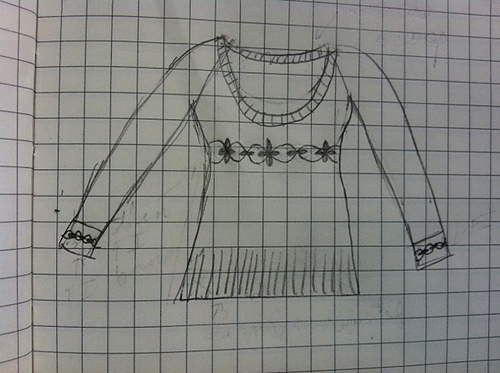
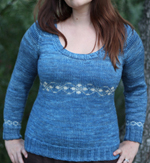
I’m so, so happy with the way this design turned out. My intention was to design a colorwork sweater that would be flattering to larger-busted gals. Here’s my original sketch:
I did add ribbing on the sleeve cuffs. My first idea was to do a turned hem, but I don’t think it would have looked right with the ribbing at the bottom and the neck. Other than that, the sweater’s pretty much the same as I envisioned!
Hubby and I went out to a local park and strapped the 50mm/f 1.8 lens to our Canon Rebel T3. I cannot begin to express my love for this camera and this lens. Practically every shot pops right off the screen. And after hours of manually blurring backgrounds in Photoshop on the pictures from our point-and-shoot, having pics that don’t need anything more than a little cropping is spectacular.
The Tosh just glows, doesn’t it?
Here are the specs on the FO:
Pattern: my own, tentatively called Blue Betty. I’m hoping to get it into the hands of test-knitters next week and release the pattern in a month or two.
Needles: 32-inch circs in US #6 and #7, plus DPNs in both sizes. Loving my Knit Picks Harmony DPNs–they really make sleeves in the round more enjoyable.
Yarn: madelinetosh tosh vintage in Betty Draper’s Blues (about 4 and a half skeins) and Antler (about 1/4 skein).YUM. Tosh vintage remains up there on my all-time-favorite yarn lists.
Two of my skeins were much darker than the others, which unfortunately didn’t show up until I wound them into balls. I alternated skeins on the sleeves and yoke to address this, and I think it worked out okay. There’s a little bit of striping, but nothing I can’t live with. You can see it on the upper back in this pic:
Notes: I love the fit of this sweater. I tried back shaping only instead of my usual side shaping, and I’m totally sold. My back is much narrower than my front, so this sweater fits me better than any others I’ve knit. The colorwork band pulls in right under the bust and adds an almost empire waistline effect.
Now on to writing up the pattern! Also fun, but not as fun as knitting (and wearing) the sweater…
WIP Wednesday: Blue Betty
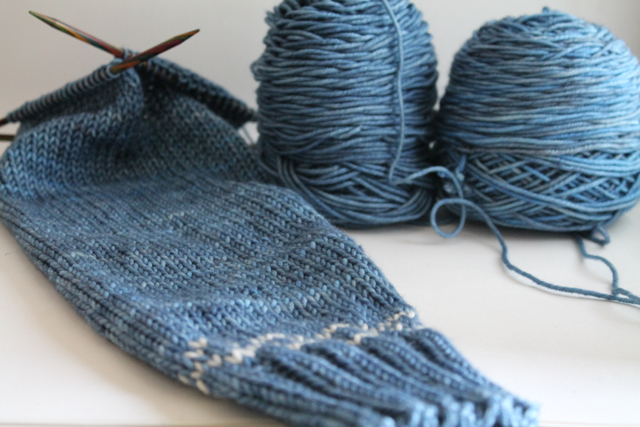
I’ve got a colorwork design in beautiful Madelinetosh Tosh Vintage to show you today! As of this afternoon, I have the body and both sleeves finished:
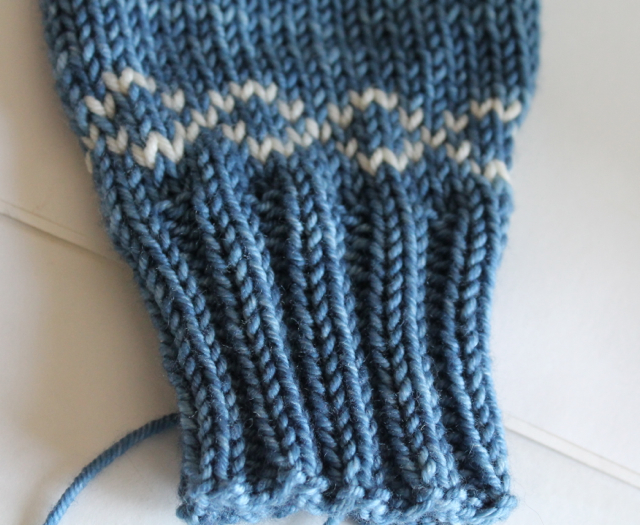
I was originally planning to do a smaller version of the body motif for the cuffs, but it’s a 22 stitch repeat and would have made the sleeves too hard to size up or down, so I went with a simple 5 stitch repeat that (hopefully) does a good job of echoing the main pattern instead:
Usually I have trouble coming up with clever names for my designs, but this time I think I have a good one. The colorway is called Betty Draper’s Blues, so I’m calling the sweater Blue Betty. Perfect, isn’t it? :-)
Now, on to the yoke!


